
TSX L4-2.4L (2005)
Oil Pan: Service and Repair
Oil Pan Removal
Special Tools Required
^
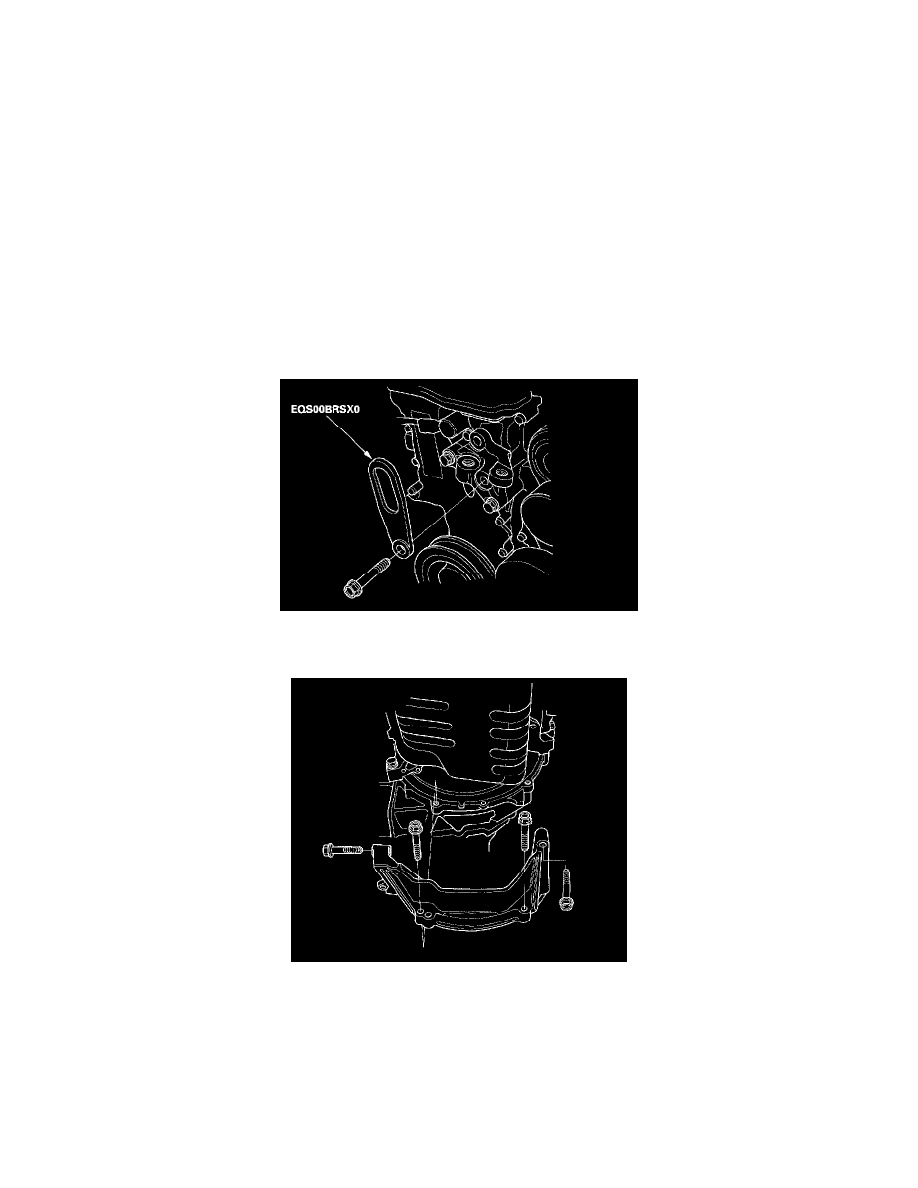
Engine hanger plate EQS00BRSX0
1. If the engine is out of the vehicle, go to step 16.
2. Raise the hoist to full height.
3. Drain the engine oil.
4. Remove the front tires/wheels.
5. Remove the splash shield.
6. Disconnect the stabilizer links.
7. Remove the right side damper fork.
8. Disconnect the right side suspension lower arm ball joint.
9. Remove the right side driveshaft. Coat all precision-finished surfaces with clean engine oil. Tie plastic bag over the driveshaft end.
10. Lower the hoist.
11. Remove the front mount stop, then remove the front mount bolt.
12. Remove the rear mount stop, then remove the rear mount bolt.
13. Remove the ground cable, then remove the upper bracket.
14. Remove a bolt securing the side engine mount bracket, then attach the special tool as shown.
15. Lift the engine to 30 - 60 mm (1.2 - 2.4 inch).
16. Remove the stiffener.
17. Remove the bolts/nuts securing the oil pan.