
ZDX V6-3.7L (2010)
Fuel Gauge Sender: Testing and Inspection
Fuel Gauge Sending Unit Test
NOTE: For the fuel gauge system circuit diagram, refer to the Gauges Circuit Diagram.
1. Check the No. 12 METER (7.5 A) fuse in the driver's under-dash fuse/relay box, and replace it if needed.
2. Check for body electrical system DTCs.
-
If no DTCs are found, go to step 3.
-
If DTC B1175 or B1176 is indicated, go to the indicated DTC's troubleshooting.
3. Turn the ignition switch to LOCK (0), or press the engine start/stop button to select the OFF mode.
4. Remove the rear seat cushion See: Body and Frame/Seats/Service and Repair/Rear Seat Removal/Installation.
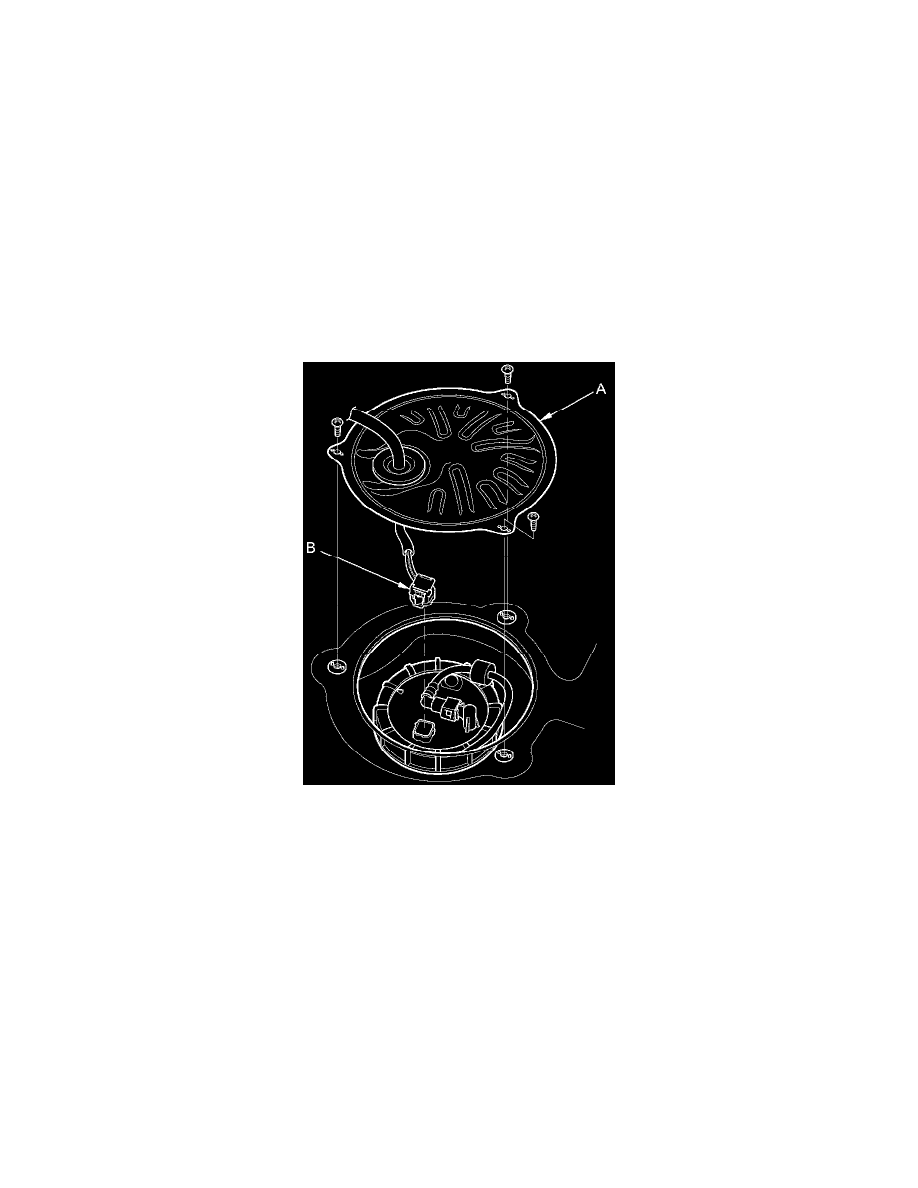
5. Remove the access panel (A) from the floor.
6. Disconnect the fuel tank unit 4P connector (B).
7. Measure the voltage between fuel tank unit 4P connector terminals No. 1 and No. 3 with the ignition switch in ON (II)/engine start/stop button to
select the ON mode. There should be battery voltage.
-
If the voltage is OK, go to step 8.
-
If the voltage is not as specified, check for:
-
a short in the PUR wire to ground.
-
an open in the PUR or BRN wire.