
ZDX V6-3.7L (2010)
Control Unit: Testing and Inspection
SH-AWD Control Unit Update
SH-AWD Control Unit Update
Special Tools Required
-
Honda Diagnostic System (HDS)
-
Honda Interface Module (HIM)
-
HDS pocket tester
NOTE:
-
Before you update the SH-AWD control unit, make sure the battery in the vehicle is fully charged.
-
Use this procedure when you need to update the SH-AWD control unit in a troubleshooting procedure.
-
Make sure the HDS/HIM has the latest software version.
-
Never turn the ignition switch to ACC (l) or LOCK (0), or press the engine start/stop button to select the ACC or OFF mode during the update. If
there is a problem with the update, leave the ignition switch in ON (II), or the vehicle in the ON mode, otherwise the control unit could be
damaged, or it will set DTCs.
-
To prevent SH-AWD control unit damage, do not operate anything electrical (headlights, audio system, brakes, A/C, power windows, moonroof,
door locks, etc.) during the update.
-
To ensure the latest program is installed, do an SH-AWD control unit update whenever the SH-AWD control unit is substituted or replaced.
-
You cannot update an SH-AWD control unit with the same program it already has installed. It will only accept a new program.
-
If you need to diagnose the Honda interface module (HIM) because the HIM's red (ïVƒ3) light came on or was flashed during the update, leave the
ignition switch in the ON (II) position, or the engine start/stop button in the ON mode, when you disconnect the HIM from the data link connector
(DLC). This will prevent SH-AWD control unit damage.
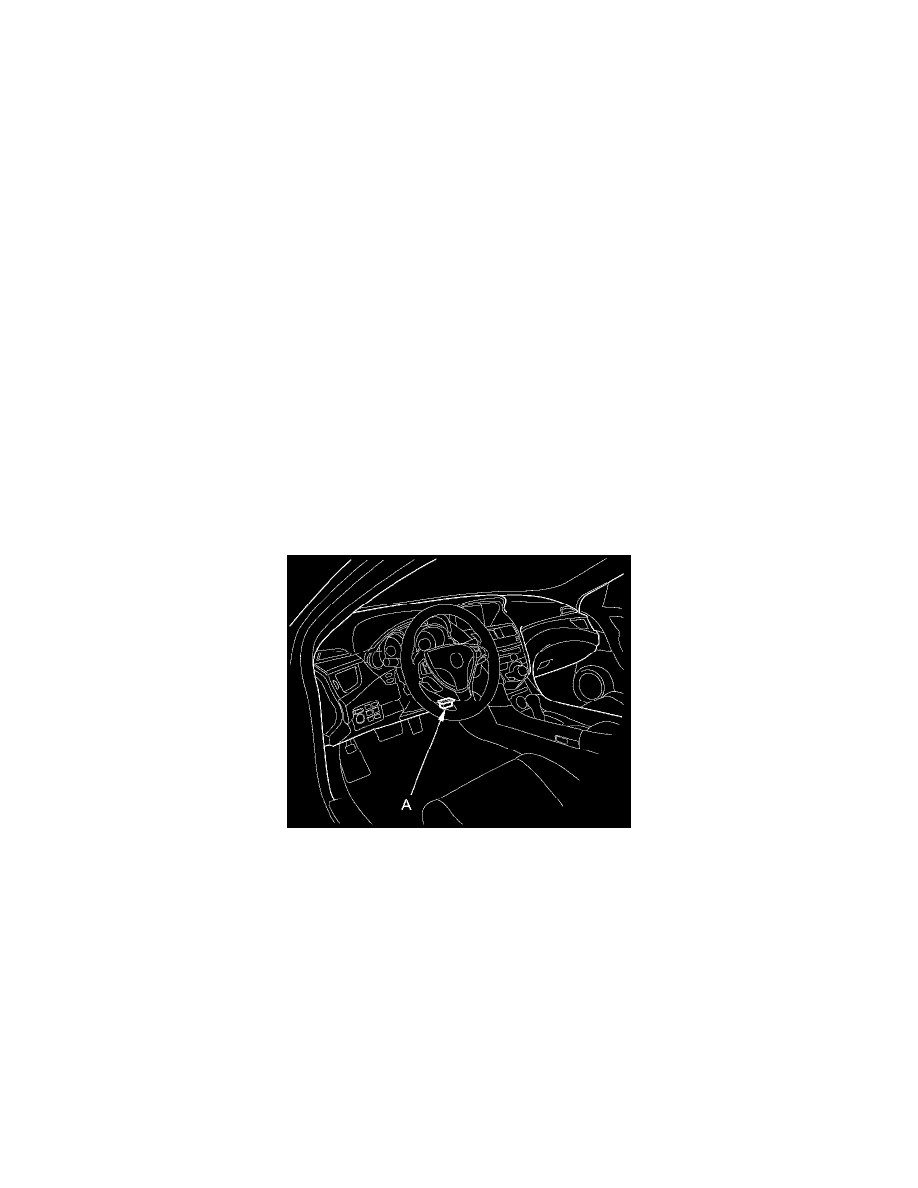
1. With the ignition switch in LOCK (0), or the vehicle in the OFF mode, connect the HDS/HIM to the DLC (A) located under the driver's side of the
dashboard.
2. Turn the ignition switch to ON (II), or press the engine start/stop button to select the ON mode.
3. Make sure the HDS communicates with the vehicle and the SH-AWD control unit. If it does not, go to the DLC circuit troubleshooting See:
Computers and Control Systems/Testing and Inspection/Component Tests and General Diagnostics/DLC Circuit Troubleshooting.
4. Select the update program, and follow the screen prompts to update the SH-AWD control unit.
5. If the software in the SH-AWD control unit is the latest, disconnect the HDS/HIM from the DLC, and go back to the procedure that you were
doing. If the software in the SH-AWD control unit is not the latest, follow the instructions on the screen.
6. Do the SH-AWD control unit initialization See: SH-AWD Control Unit Initialization.
7. Do the SH-AWD differential clutch torque memorization See: SH-AWD Differential Clutch Torque Memorization.
8. Do the yaw rate-acceleration neutral position memorization See: Brakes and Traction Control/Antilock Brakes / Traction Control Systems/Yaw
Rate Sensor/Testing and Inspection.