
ZDX V6-3.7L (2010)
Axle Shaft Assembly: Removal and Replacement
Front Driveshaft Removal
Front Driveshaft Removal
Special Tools Required
-
Ball Joint Thread Protector, 14 mm 071AF-SZNA100
-
Ball Joint Thread Protector, 12 mm 07AAF-SDAA100
-
Ball Joint Remover, 32 mm 07MAC-SL0A102
-
Ball Joint Remover, 28 mm 07MAC-SL0A202
1. Raise and support the vehicle See: Maintenance/Vehicle Lifting/Service and Repair.
2. Remove the front wheels.
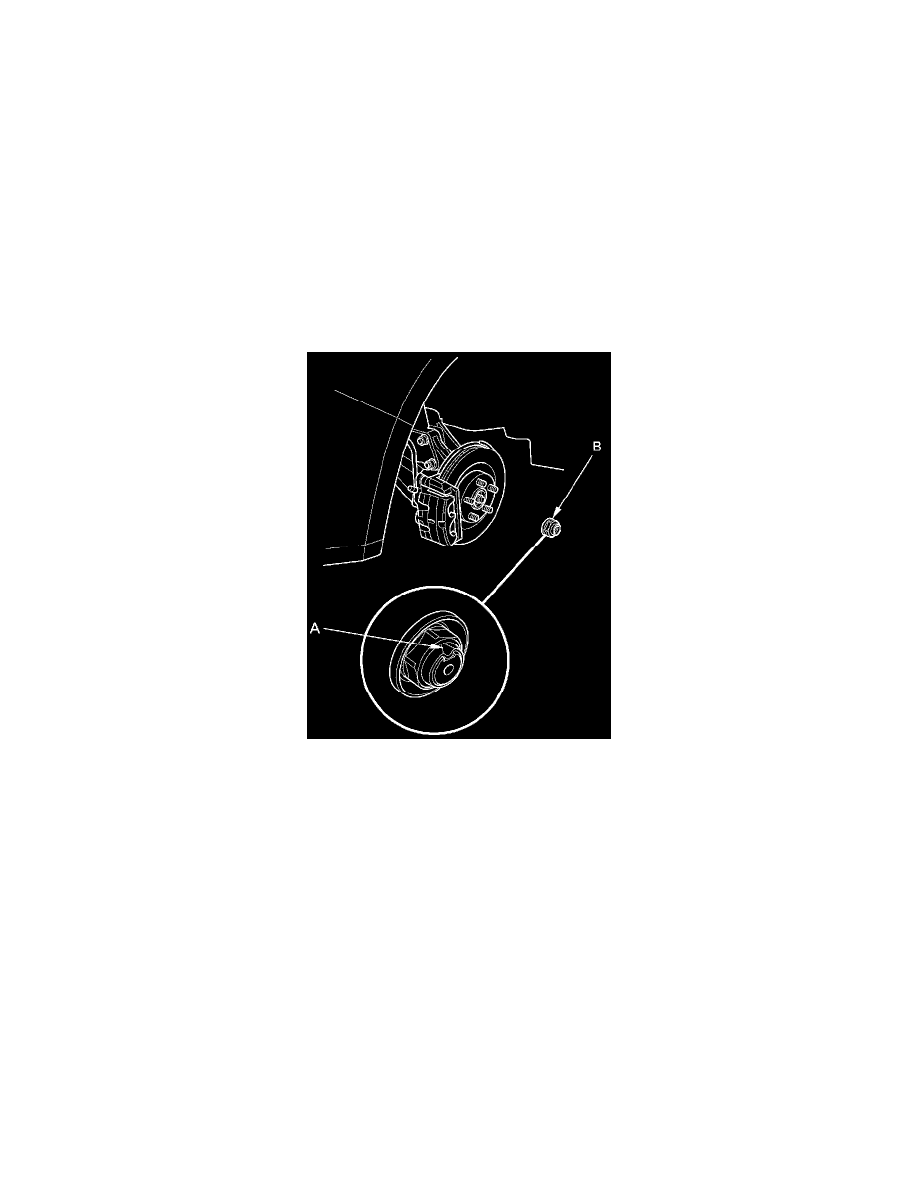
3. Pry up the stake (A) on the spindle nut (B), then remove the nut.
4. Remove the engine undercover See: Body and Frame/Splash Guard/Service and Repair/Engine Undercover Replacement.
5. Drain the transmission fluid, then reinstall the drain plug with a new sealing washer See: Automatic Transmission/Transaxle/Service and
Repair/Removal and Replacement/ATF Replacement.
6. Remove exhaust pipe A See: Engine, Cooling and Exhaust/Exhaust System/Exhaust Pipe/Service and Repair.
7. With active damper system: Remove the suspension stroke sensor See: Sensors and Switches/Sensors and Switches - Steering and
Suspension/Sensors and Switches - Suspension/Ride Height Sensor/Service and Repair.
8. Remove the lock pin (A) from the lower arm ball joint, then remove the castle nut (B). Separate the knuckle from the lower arm (C) using the 14
mm ball joint thread protector (D) and the 32 mm ball joint remover (E) See: Steering and Suspension/Suspension/Ball Joint/Service and
Repair/Ball Joint Removal.
NOTE:
-
Be careful not to damage the ball joint boot when installing the remover.
-
Do not force or hammer on the lower arm, or pry between the lower arm and the knuckle. You could damage the ball joint.