ZDX V6-3.7L (2010)

13. Place a floor jack under lower arm B, and raise the suspension to load it with the vehicle's weight.
14. Tighten the lower arm B flange bolt, the lower arm A self-locking nut, and the lower arm A flange bolt to the specified torque values, then remove
the floor jack.
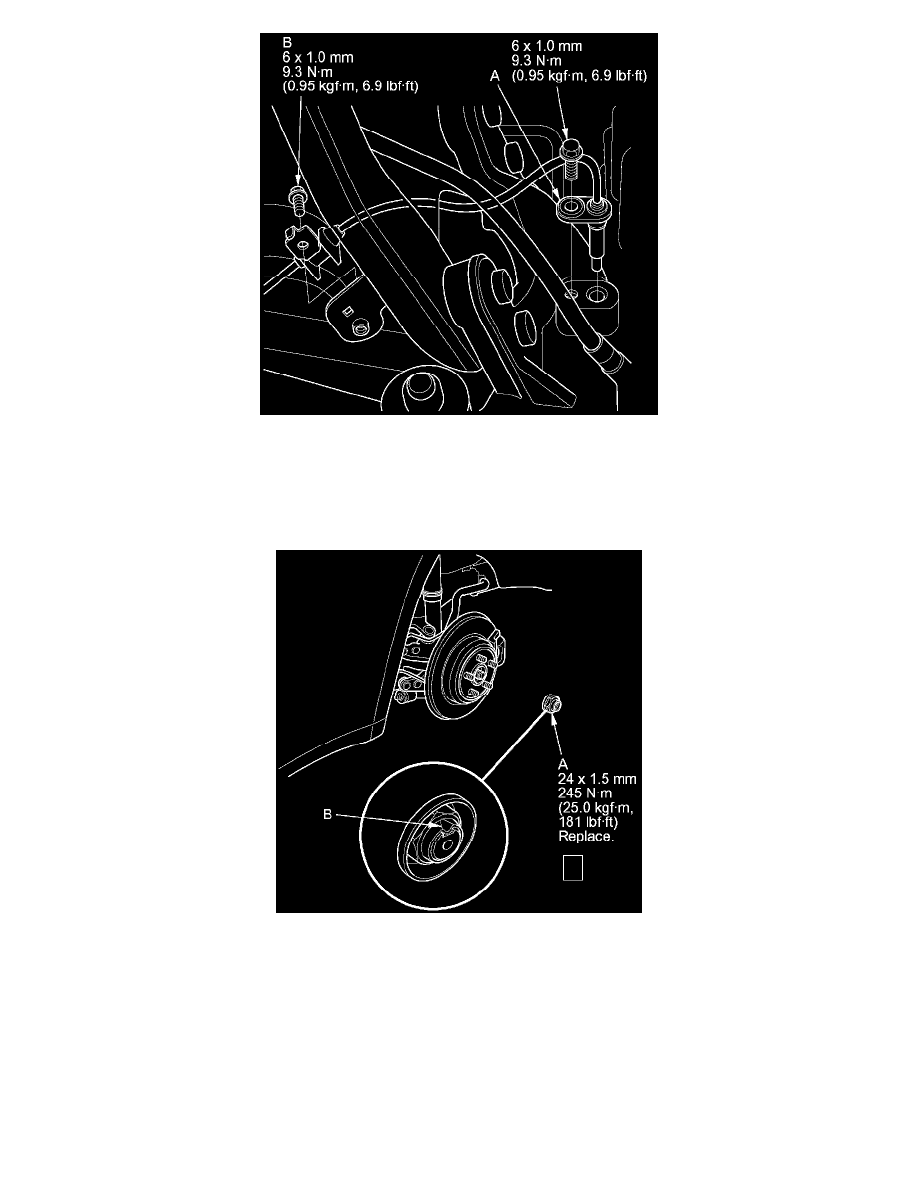
15. Apply a small amount of engine oil to the seating surface of a new spindle nut (A).
16. Install the spindle nut, then tighten it. After tightening, use a drift to stake the spindle nut shoulder (B) against the driveshaft.
17. Clean the mating surfaces of the brake disc and the wheel, then install the rear wheels.
18. Turn the wheel by hand, and make sure there is no interference between the driveshaft and surrounding parts.
19. Lower the vehicle.
20. Check the wheel alignment, and adjust it if necessary See: Maintenance/Alignment/Service and Repair.
21. With active damper system: Do the memorizing rear suspension full rebound position See: Steering and Suspension/Suspension/Suspension
Control ( Automatic - Electronic )/Testing and Inspection/Programming and Relearning.
