
ZDX V6-3.7L (2010)
Back Window Glass: Service and Repair
Rear Fixed Glass Panel Replacement
NOTE:
-
Put on gloves to protect your hands.
-
Wear eye protection while cutting the adhesive with a piano wire.
-
Use seat covers to avoid damaging the seat.
1. Remove these items:
-
Glass rear gap seal See: Body and Frame/Roof and Associated Components/Sunroof / Moonroof/Sunroof / Moonroof Weatherstrip/Service
and Repair/Panoramic Glass Roof Seal Replacement
-
Side seal, if required See: Body and Frame/Roof and Associated Components/Sunroof / Moonroof/Sunroof / Moonroof Weatherstrip/Service
and Repair/Panoramic Glass Roof Seal Replacement
-
AM/FM/XM antenna See: Accessories and Optional Equipment/Antenna/Antenna, Radio/Diagrams
2. If the old rear fixed glass panel will be reinstalled, make alignment marks across the panel and body with a grease pencil.
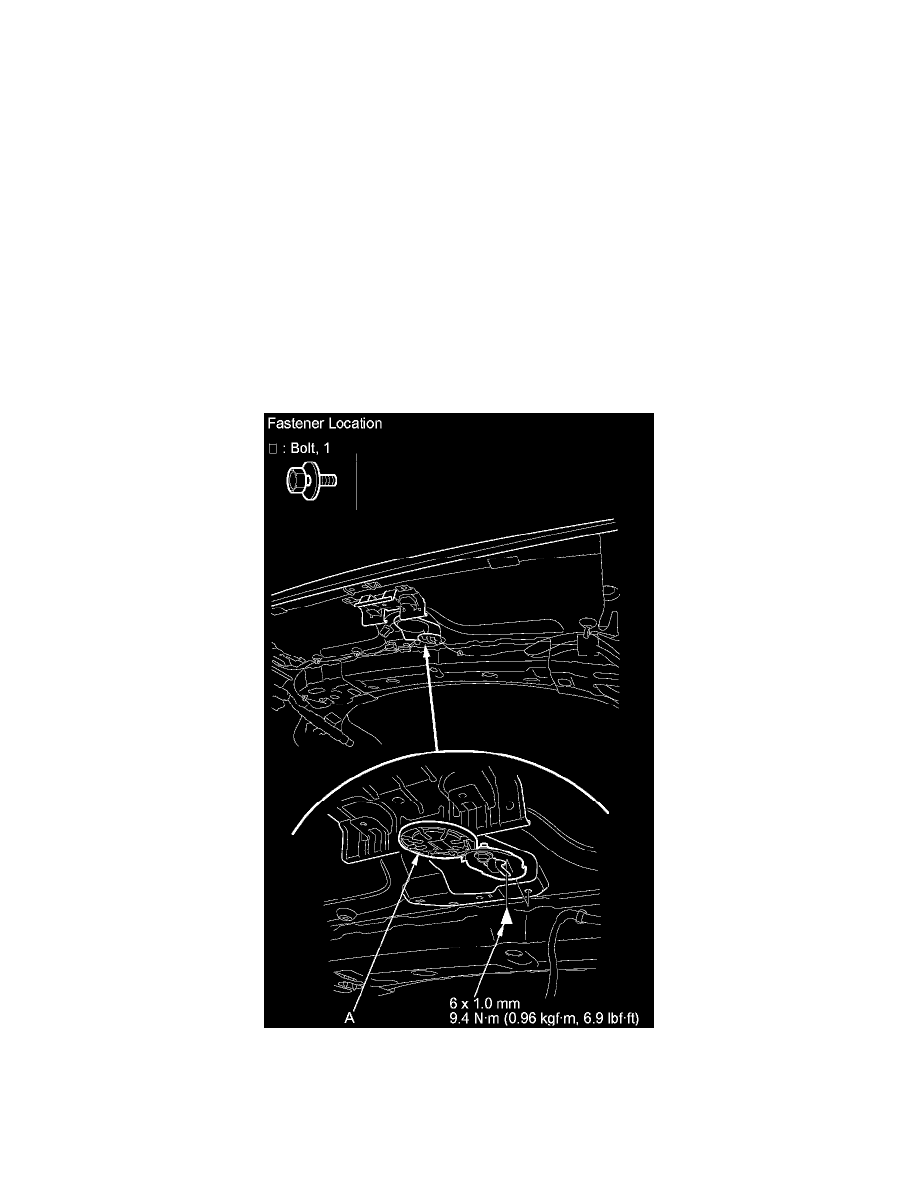
3. From inside the vehicle, remove the bolt securing the antenna bracket (A).
4. Apply protective tape along the edge of the body and along the upper molding on the upper rear window. Using an awl, make a hole through the
adhesive from inside the vehicle at the corner area of the rear fixed glass panel. Push a piece of piano wire through the hole, and wrap each end
around a piece of wood.
5. With a helper on the outside, pull the piano wire (A) back and forth in a sawing motion. Hold the piano wire as close to the rear fixed glass panel
(B) as possible to prevent damage to the body. Carefully cut through the adhesive (C) around the entire panel, and cut through the adhesive (D)