
Removing/refitting
- Make
- Alfa Romeo
- Model
- GTV / Spider GTV and Spider (916) Factory Service Manual
- Year
- 1995–2000
- Section
- Fuel supply › Removing/refitting
Variants – 2.0 V6 Turbo (GTV and Spider)Removing/refitting
The fuel filler cap has a special device which enables it to be tightened only to the specified torque, this way excessive tightening beyond the specified value is prevented.
The tank is positioned in correspondence of the rear seat and fastened by two metal straps to the under-body and it is protected by a special sheet metal partition.
The pipe on the fuel filler acts as a breather.
There is an opening in the upper part of the tank for housing the fuel pump and fuel level gauge.
A special takeoff on the tank allows the fuel vapours to reach the vapour separator via a connection pipe.
- Slacken the fastening clamp and disconnect the fuel filler from the tank.
- Slacken the fastening clamp and disconnect the breather pipe from the fuel tank.
REMOVING/REFITTING
- Set the car on a lift.
- Disconnect the battery (-) terminal.
- Empty the tank withdrawing the fuel through the filler using a special pump.
- Remove the rear seat cushion and back (see specific paragraph).
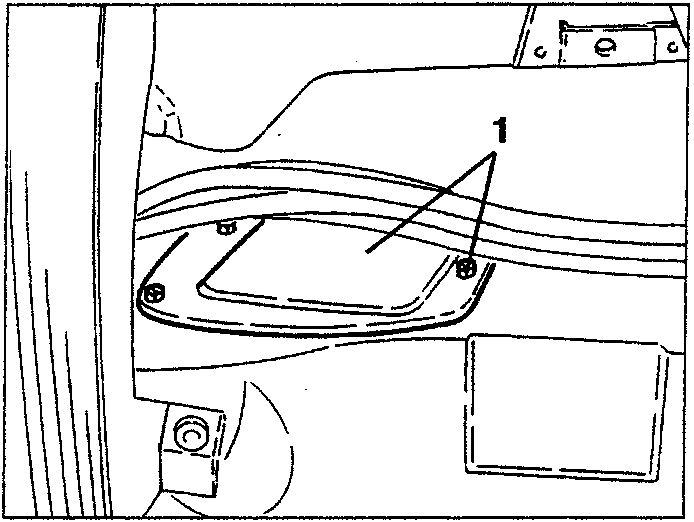
- Slacken the fastening nuts and remove the access cover to the fuel filler.
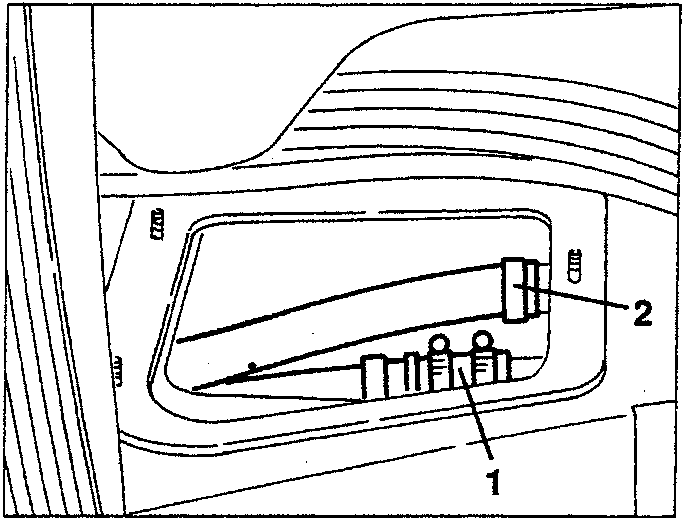
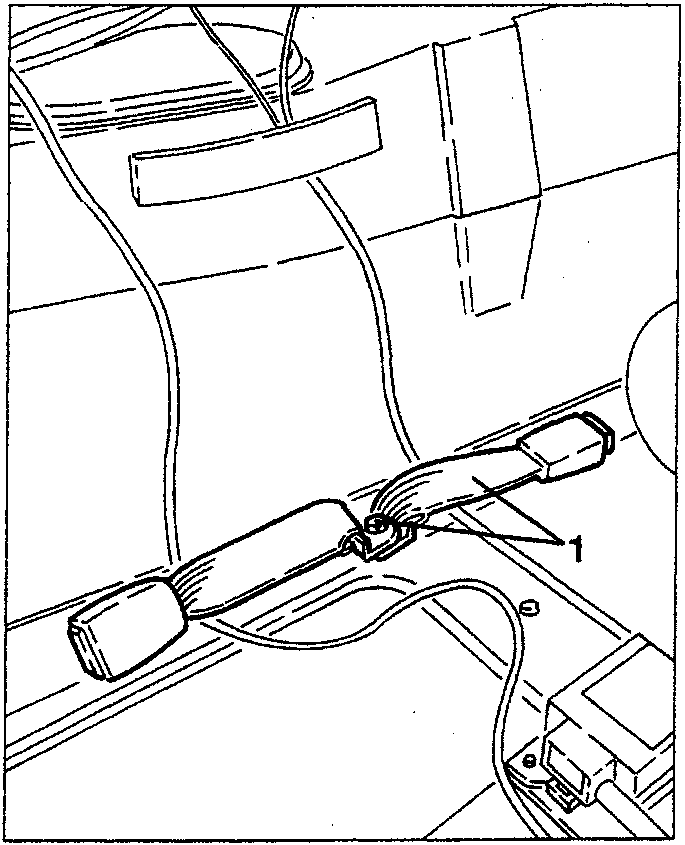
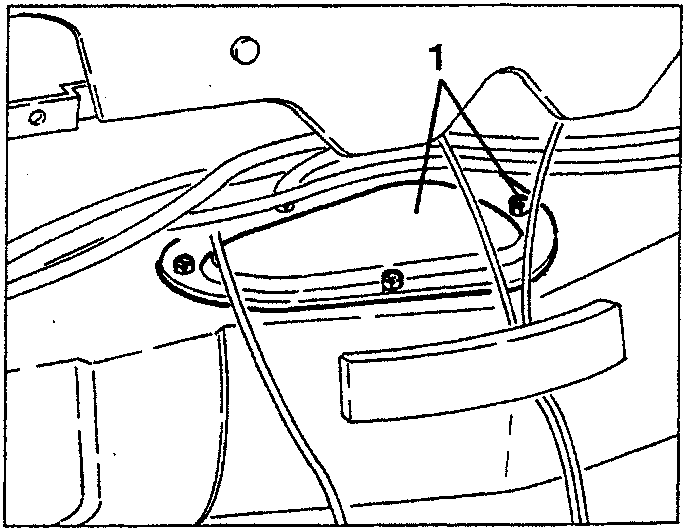
- Slacken the fastening nuts and remove the access cover to the fuel pump and fuel level gauge.
Parts & tools for this job For 1995 Alfa Romeo GTV / Spider
- TOOLTorque wrenchSearch: 3/8 inch torque wrench
- TOOLSocket setSearch: socket set metric
- BOOKHaynes manualSearch: Haynes manual Alfa Romeo GTV / Spider
Links open Amazon search results in a new tab. As an Amazon Associate I earn from qualifying purchases.