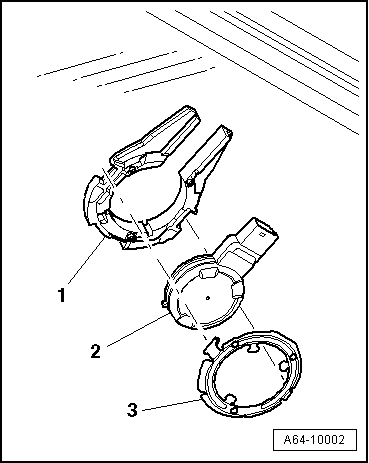
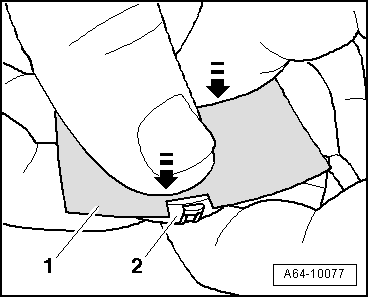
| Unclipping retaining clip |
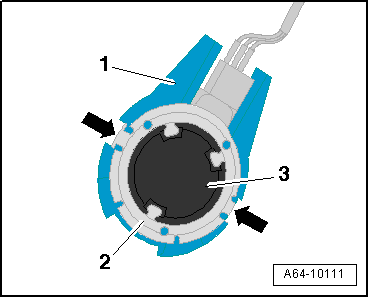
| –
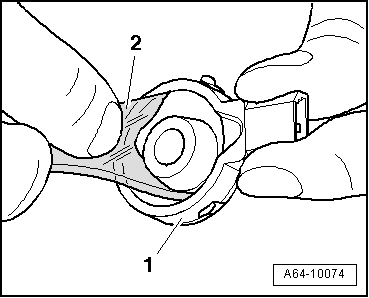
| Use a small screwdriver or similar tool to press retaining clip -2- outwards at points marked by -arrows-. |
| –
| Detach retaining clip -2- from mirror base -1-. |
| –
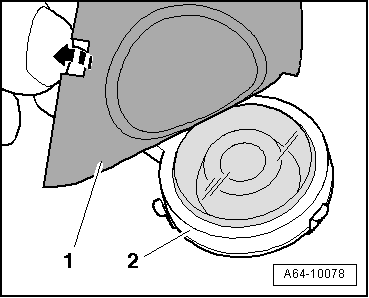
| Take rain and light sensor -G397--3- out of mirror base. |
| –
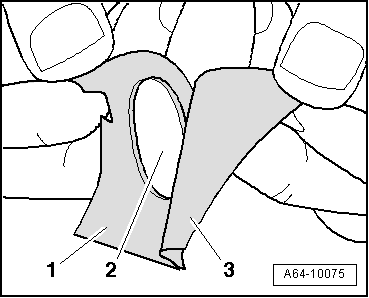
| Sensor foil will remain attached to the windscreen. |
| –
| If you are re-installing the same windscreen, the sensor foil has to be completely removed from the glass. |
| –
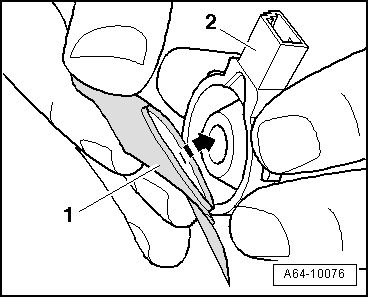
| Clean glass surface using cleaning solution D 009 401 04. |
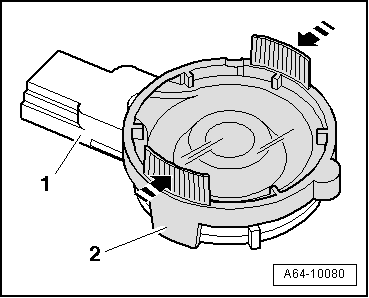
| Installing rain and light sensor -G397- |

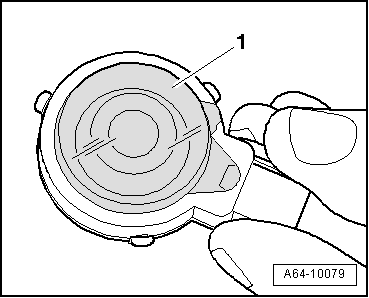
Caution | If the same rain and light sensor -G397-is re-installed, the sensor foil must be renewed. |
|
| –
| Also remove any remaining sensor foil residues from the rain and light sensor -G397-. |
|
|
|
 Note
Note