| –
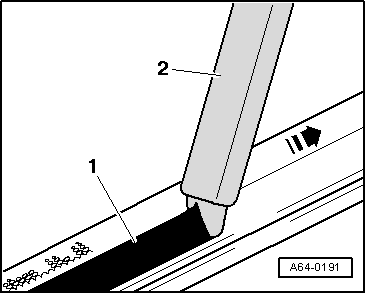
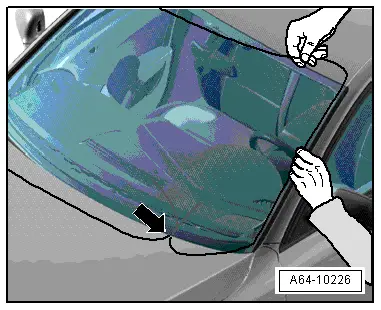
| Apply adhesive sealant -1- all round windscreen -2-, as shown. |
| –
| When reinstalling an undamaged windscreen, apply adhesive to remaining adhesive bead. |
| –
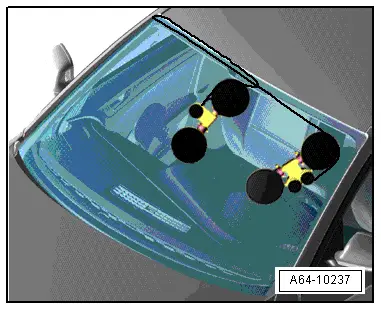
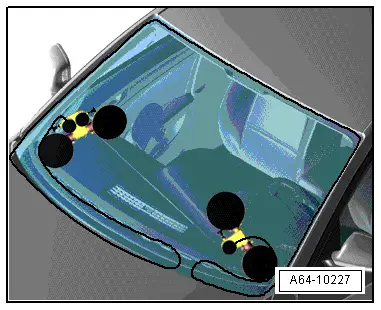
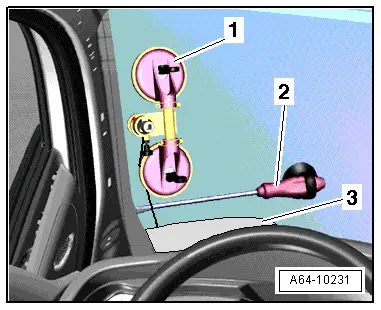
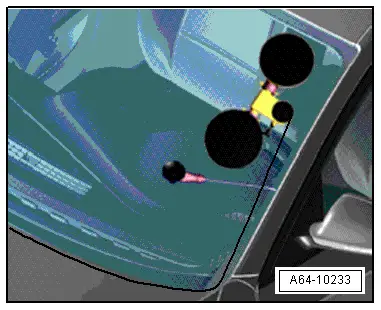
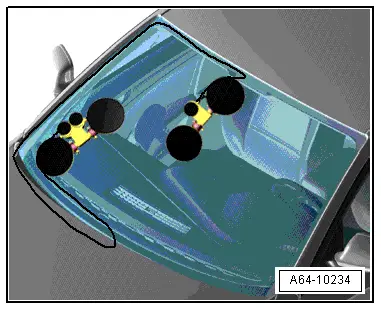
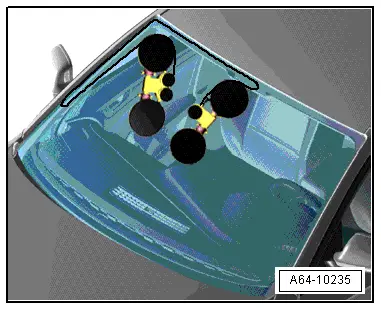
| Install windscreen glass in windscreen opening using two suction lifters. |

Caution | Windscreen must be fitted within 15 minutes, otherwise the adhesive properties of the adhesive sealant will be impaired. |
|
| –
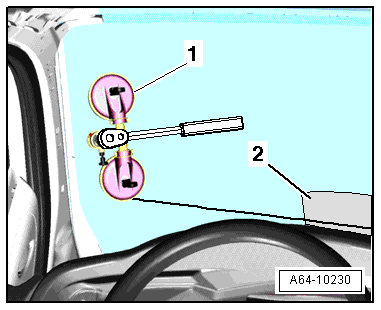
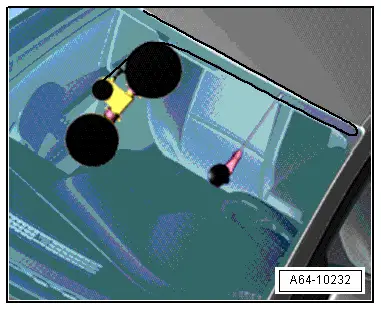
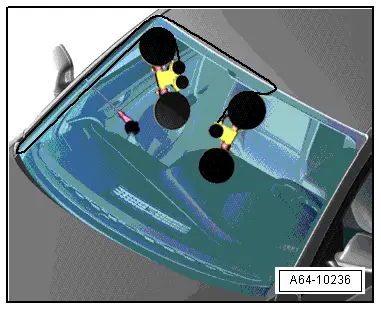
| Align windscreen glass so that spacing is equal on both sides. |
| l
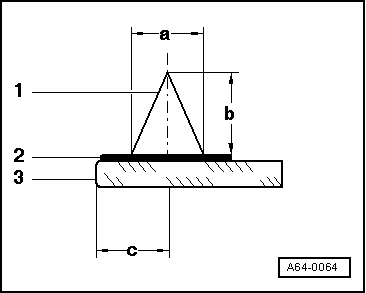
| Distance from edge of windscreen to roof frame → Item. |
| l
| Secure windscreen to roof at top with adhesive tape. |
| –
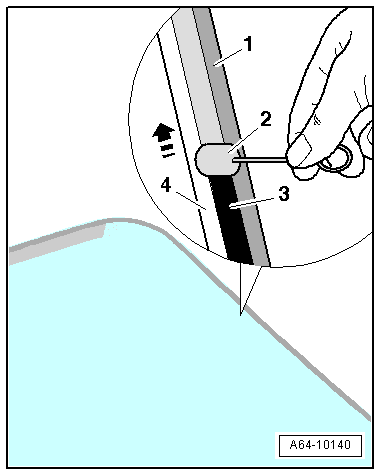
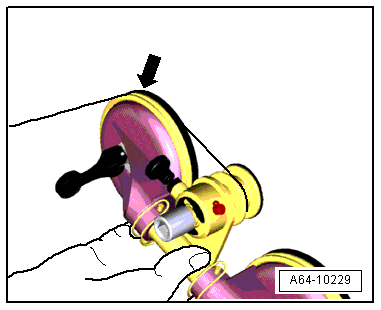
| Pull protective strip -2- out of windscreen surround before fitting plenum chamber cover. |
|
|

|

 WARNING
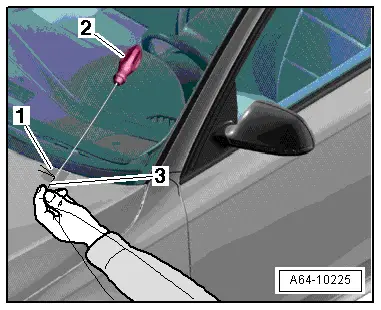

 Note
Note