Audi Workshop Service and Repair Manuals
HOME
FEATURES
MENU
INDEX
ABOUT US
Removing and installing swivel joint >
< Fixing position of subframe
A1
Running gear, front-wheel drive
Front suspension, drive shafts
Subframe, swivel joint, wishbone, anti-roll bar, coupling rod
Removing and installing subframe
Removing and installing subframe
Removing and installing subframe
Special tools and workshop equipment required
t
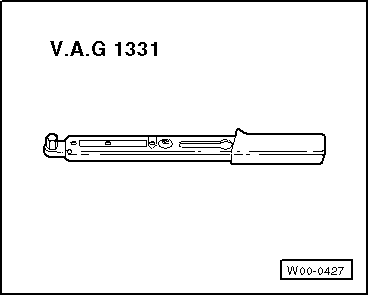
Torque wrench -V.A.G 1331-
t
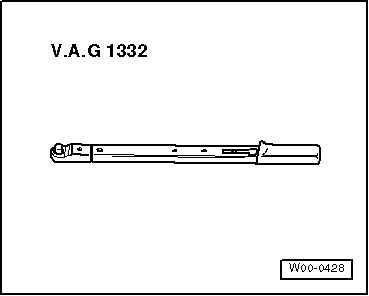
Torque wrench -V.A.G 1332-
Removing
–
Remove front wheels.
–
Remove noise insulation
→ Rep. gr.66
.
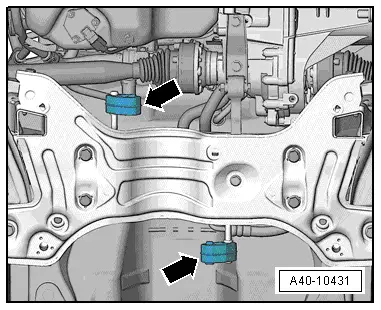
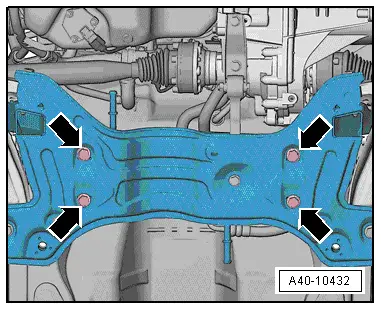
–
Mark positions of nuts
-arrows-
with felt pen on both sides of vehicle.
–
Remove nuts
-arrows-
on both sides of vehicle.
Note
When removing and installing, take care not to damage the rubber boot of the swivel joint. The boot should be protected against damage if necessary.
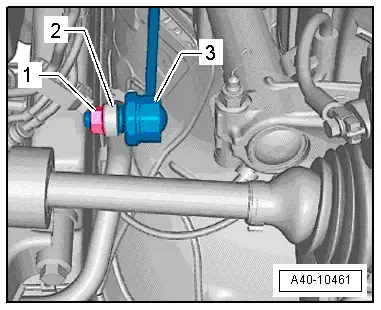
–
Remove nut
-1-
from coupling rod
-3-
(left and right sides).
–
Pull coupling rod
-3-
out of anti-roll bar
-2-
(left and right sides).
–
Turn anti-roll bar upwards.
Vehicles with exhaust pipe beneath subframe
–
Remove front exhaust pipe
→ Rep. gr.26
.
Vehicles with exhaust pipe above subframe
–
Pull retaining rings
-arrows-
for exhaust pipe off subframe.
All vehicles (continued):
–
Unbolt steering box from subframe
-arrows-
and tie up to body with wire (or similar).
–
Fix position of subframe
→ Chapter
.
–
Lower subframe using engine and gearbox jack -V.A.G 1383 A-.
Installing
Installation is performed in reverse sequence; note the following:
Tightening torques
→ Chapter „Exploded view - subframe, swivel joint, wishbone, anti-roll bar, coupling rod“
–
Align position of nuts
-arrows-
according to markings made on removal and tighten nuts.
–
Secure subframe
→ Anchor
.
–
Fit and secure wheels
→ Rep. gr.44
.
–
Check and adjust wheel alignment as required, see chart
→ Chapter
.
Running gear, front-wheel drive
Front suspension, drive shafts
Subframe, swivel joint, wishbone, anti-roll bar, coupling rod
Removing and installing subframe
Removing and installing swivel joint >
< Fixing position of subframe
 Note
Note
 Note
Note