audi Workshop Repair Guides

Audi Workshop Service and Repair Manuals

Gearbox mechanics,operation, construction,diff. > < Exploded view - clutch unit
Removing and installing clutch plate and clutch pressure plate
Special tools and workshop equipment required
   
t  Counterhold tool -3386-
  W00-0179
t  Centring tool -T10063-
t  Grease for clutch plate splines -G 000 100-
  Note
  W00-1047
The counterhold -3386- can only be used if it can be moved on the shaft. This involves detaching the circlip -arrow-.
l  The shaft can then be moved in the counterhold -3386-.
  Note
Re-install the circlip after use.
Removing
l  Gearbox removed
–  Attach counterhold tool -3386- before loosening bolts.
–  Consecutively slacken off all bolts in clockwise direction in 90° stages until the clutch pressure plate is released.
  N30-0250
Installing
l  Tightening torque → Chapter
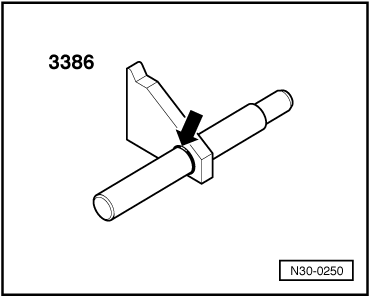
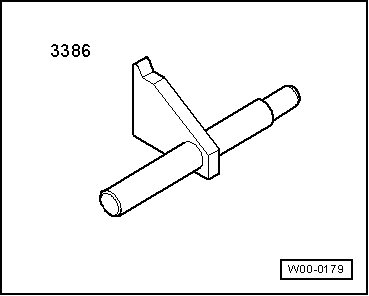
–  Re-position counterhold tool -3386- to tighten bolts.
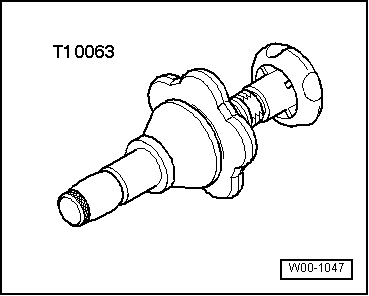
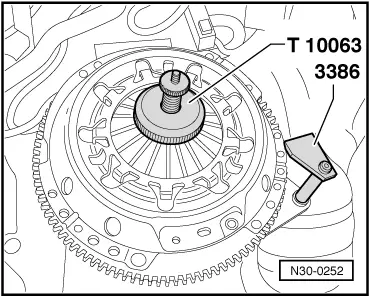
–  Position the clutch plate with the clutch pressure plate on the flywheel and centre the clutch plate with the centring tool -T10063-. This involves unfastening the nuts on the centring tool.
l  Installation position of clutch plate: Damper assembly (coil springs) or lettering „Getriebeseite“ (gearbox end) faces towards clutch pressure plate or gearbox
  N30-0252
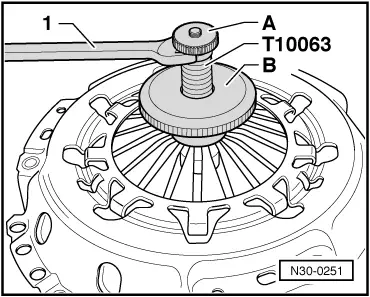
–  Tighten the nut -A- with a 13 mm open-ended wrench -Item 1- until the centring tool -T10063- is clamped together with the clutch plate.
–  Then tighten the nut -B- until the clutch pressure plate and clutch plate are clamped together.
–  Evenly screw in all bolts by hand until the bolt heads make contact with the clutch pressure plate.
–  Consecutively tighten all bolts in clockwise direction in 90° stages until the housing makes contact with the flywheel.
–  Consecutively tighten all bolts to final setting in clockwise direction.
  N30-0251

Gearbox mechanics,operation, construction,diff. > < Exploded view - clutch unit