| Vehicles with bracket for compact spare wheel: |
| Connect up battery in the following sequence with ignition and electrical consumers switched off: |
| –
| Start by connecting pole shoe -2- of positive lead by hand to battery positive terminal “+” and tighten nut. |
| –
| Connect pole shoe -3- of earth lead by hand to battery negative terminal “-” and tighten nut. |
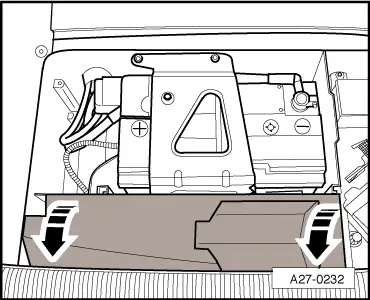
| –
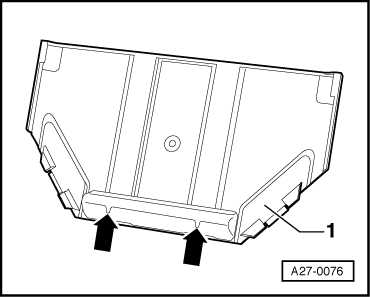
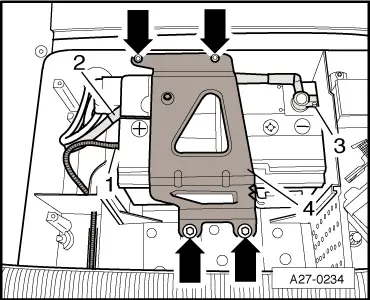
| Insert compact spare wheel / battery mount bracket and tighten the bolts -arrows- at compact spare wheel / battery mount bracket -4-. |
| –
| Terminate battery back-up operation on the battery charger. |
| If the battery has been removed and installed without battery back-up operation, the following action must be taken after connecting the battery: |
| t
| Activate vehicle equipment (radio/radio navigation system, clock, electric window lifters) in line with owner's manual. |
| t
| Check operation of remote control and synchronise remote control keys if necessary. Customers should be informed that second and additional keys are also to be synchronised so as to ensure proper operation of remote control function → Owner's manual. |

Note | t
| After re-connecting the power supply, the ABS/ESP warning lamp does not go out until the vehicle has been driven a few metres. |
| t
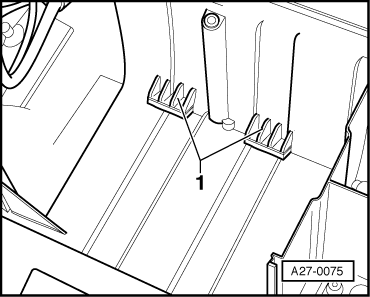
| Following installation, do not forget to insert moulded element in front of battery. |
|
|
|

 Caution
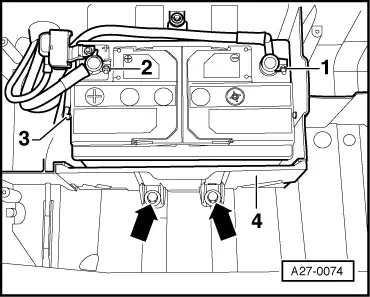
 WARNING