A3 Mk1
| Exploded view of components |

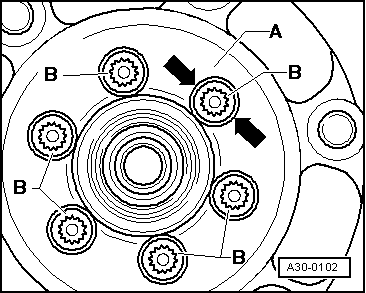
| 1 - | Dual-mass flywheel |
| q | Observe instructions for removal → Fig. |
| q | Removing and installing → Rep. Gr.13 |
| q | Ensure that dowel pins fit tightly |
| q | Contact surface for clutch lining must be free of grooves, oil and grease |
| 2 - | Clutch plate |
| q | Removing and installing → Chapter |
| q | Always renew SAC pressure plate as well |
| q | Installation position: marking “Getriebeseite” (gearbox side) faces towards gearbox |
| q | Clutch plate diameter → Chapter |
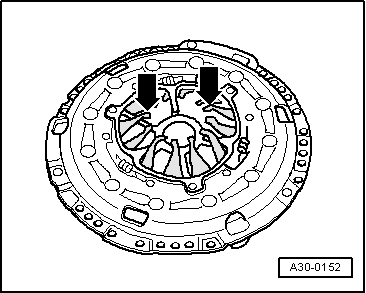
| 3 - | SAC pressure plate |
| q | “SAC” = self adjusting clutch |
| q | Removing and installing → Chapter |
| q | Check ends of diaphragm spring → Fig. |
| q | Check spring connections and rivets → Fig. |
| q | Always renew clutch plate as well |
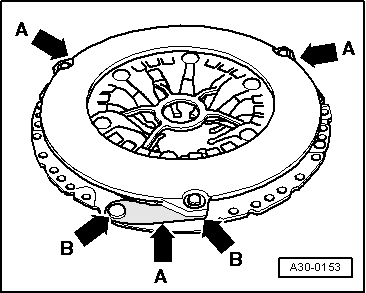
| 4 - | M6 = 13 Nm; M7 = 20 Nm; M8 = 22 Nm |
| q | Working clockwise, slacken all bolts one after the other in steps of 90° (1/4 turn) until the pressure plate is free |
| q | Observe instructions for installation → Anchor |
| q | For correct version check engine code and refer to → Parts catalogue |
 Note
Note
|
|
Note
|
|