A3 Mk1
|
Removing and installing sealing flanges and flywheel/drive plate
Removing and installing drive plate
|
 |
|
|
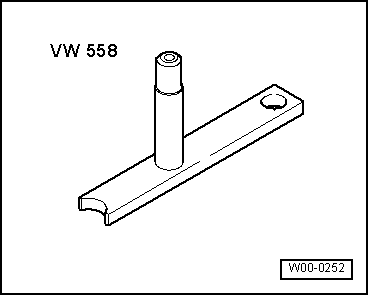
Special tools and workshop equipment required
|
 |
|
|
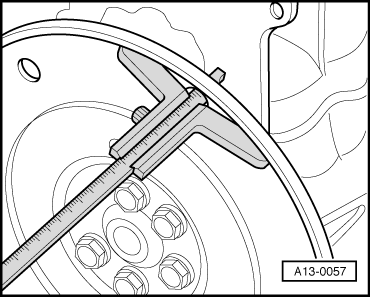
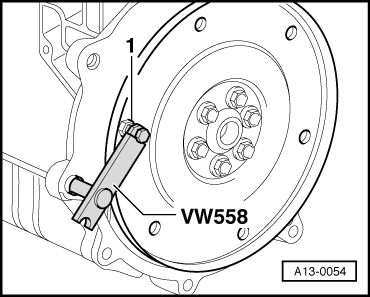
Removing
|
 |
|
|
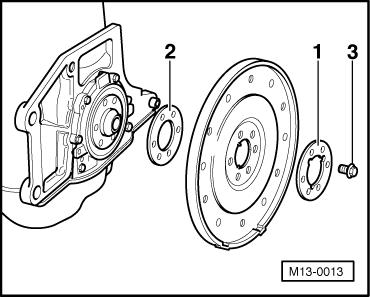
Installing |

|
Removing and installing sealing flanges and flywheel/drive plate
Removing and installing drive plate
|
|
|
|
Special tools and workshop equipment required
|
|
|
|
Removing
|
|
|
|
Installing |