audi Workshop Repair Guides

Audi Workshop Service and Repair Manuals

Dismantling and assembling shock absorber > < Removing and installing hydraulic bonded rubber bush
Running gear, Front-wheel drive and four-wheel drive
Servicing rear axle - Front-wheel drive vehicles
Removing and installing shock absorber/spring
 
W00-0120

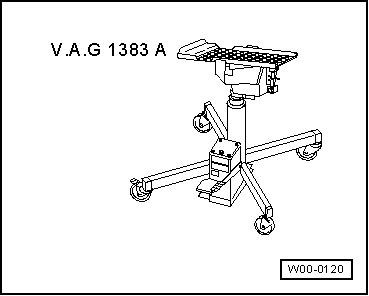
Special tools and workshop equipment required
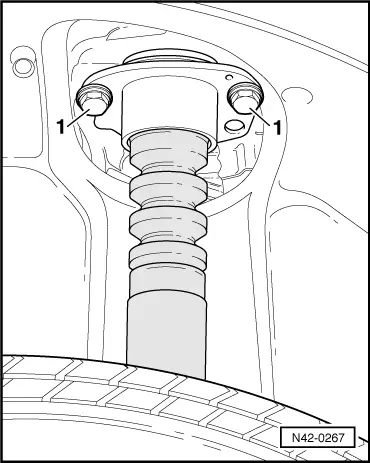
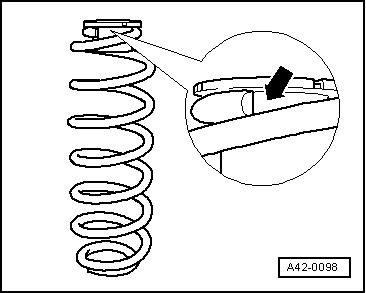
  • ◆ Engine/gearbox lifter V.A.G 1383 A

 
N42-0237

Removing spring

  • ‒ Raise vehicle.
  • ‒ → Unplug connector -1- of ABS speed sensor.
  • ‒ Unclip speed sensor wire from holder -arrow-.
 
N42-0267
  • ‒ → Lower vehicle until wheels are standing on ground and bolts -1- are also accessible.
  • ‒ Screw out bolts -1-.
  • ‒ Raise vehicle to installation height, thus relieving the load on the coil spring.
  • ‒ Take out spring.
 
N42-0060

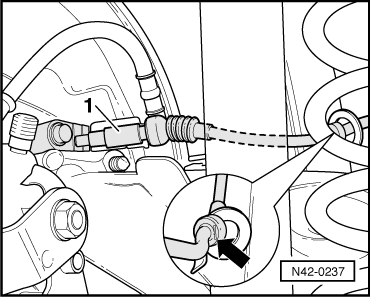
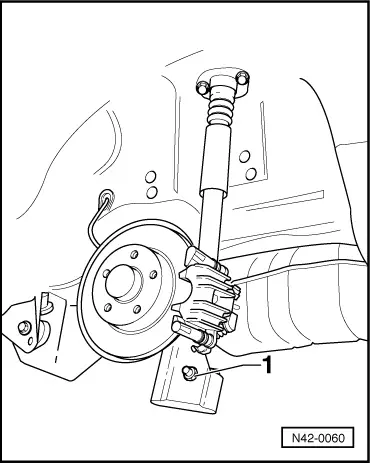
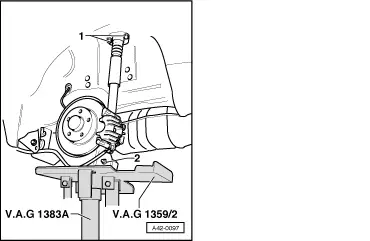
Removing shock absorber

  • ‒ → Screw out bolt -1- for shock absorber.

Note:

Wheel has been removed in Fig.

  • ‒ Take out shock absorber.

 
A42-0098

Installing

  • ‒ Check zinc seat for damage and replace if necessary.
  • ‒ Install spring together with spring support.
    • ‒ → Start of spring -arrow- must make contact with stop of spring support
 
A42-0097
  • ‒ → Use engine/gearbox lifter V.A.G 1383 A and universal mount V.A.G 1359/2 to press rear axle upwards.
  • ‒ Hand-tighten lower bolted joint -2- for shock absorber.
  • ‒ Screw on shock absorber at top -1-.
  • ‒ Set vehicle down on its wheels.
  • ‒ Tighten bolts to stipulated torques.

Tightening torques

Component

Nm

Shock absorber to body

30 + 90° 1)2)

Shock absorber to rear axle

40 + 90° 1)2)

    1)    90°corresponds to quarter turn

    2)    Replace bolts and nuts

Bolted joints with bonded rubber bushes must be tightened when vehicle is standing on its wheels.

Dismantling and assembling shock absorber > < Removing and installing hydraulic bonded rubber bush