Audi Workshop Service and Repair Manuals
HOME
FEATURES
MENU
INDEX
ABOUT US
Checking oil level in Haldex coupling and topping up >
< Exploded view - dismantling and assembling Haldex coupling (generation "Haldex IV"), rear final drive "0BR",
A3 Mk2
Power transmission
Rear final drive 02D, 0AV, 0BR, 0BS and 0BY
Final drive, differential, differential lock
Exploded view - dismantling and assembling Haldex coupling (generation "Haldex IV"), rear final drive "0BR",
Removing and installing Haldex coupling pumpV181, final drive "0BR/0BS/0BY"
Removing and installing Haldex coupling pumpV181, final drive „0BR/0BS/0BY“
Removing and installing Haldex coupling pump -V181-, final drive „0BR/0BS/0BY“
Special tools and workshop equipment required
t
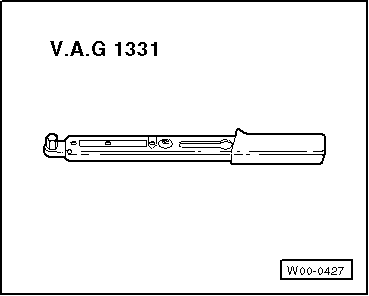
Torque wrench -V.A.G 1331-
t
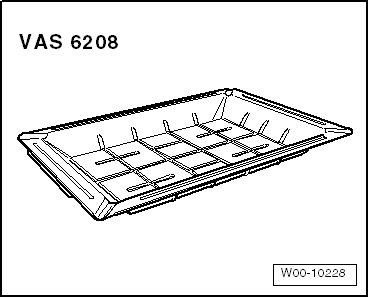
Drip tray for workshop hoist -VAS 6208-
Removing
–
Switch off ignition.
–
Place drip tray underneath.
–
Remove drain plug
-A -
and drain high performance oil for Haldex coupling completely.
–
Fit drain plug
-A-
with new seal.
Tightening torque for plug
-A-
: 30 Nm
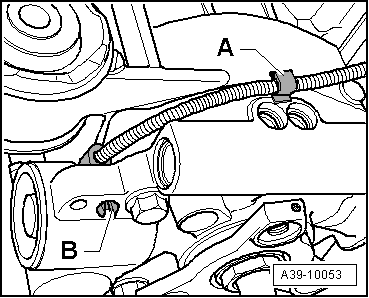
–
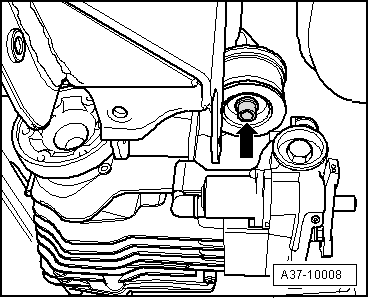
Loosen securing bolt
-arrow-
at front mounting bracket for final drive approx. 7 turns and lower final drive slightly.
–
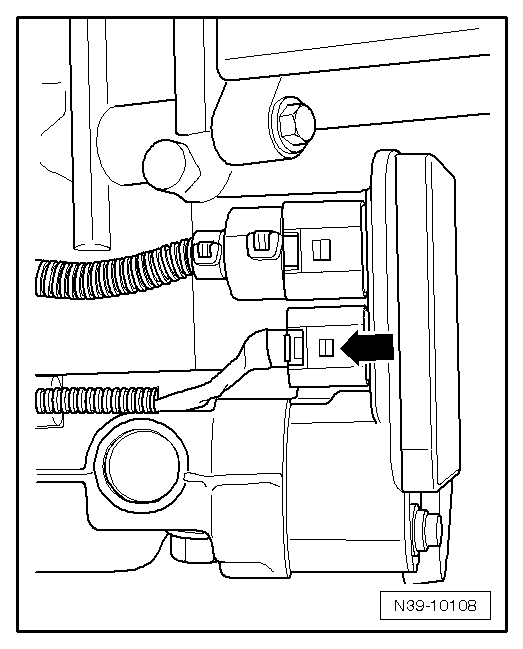
Unplug connector
-arrow-
for pump from control unit.
–
Detach wiring harness together with retainer
-A-
from housing and move clear.
–
Press retainer tabs
-B-
together and push into hole in housing as far as possible.
–
Re-tighten securing bolt
-arrow-
finger-tight.
–
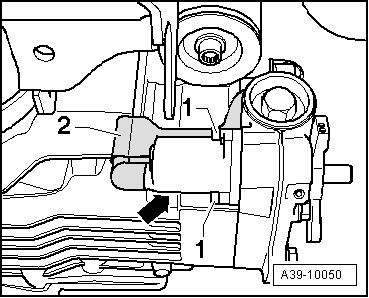
Position drip tray under final drive.
–
Unscrew securing bolts for pump
-1-
.
–
Pull out pump
-arrow-
together with the wiring protection
-2-
from Haldex coupling housing.
Installing
Installation is carried out in the reverse order; note the following:
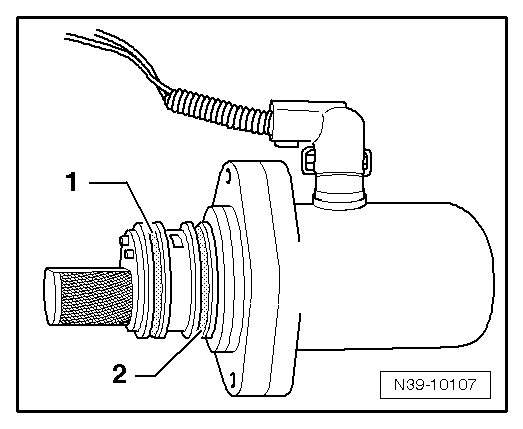
–
Renew O-rings
-1-
and
-2-
.
–
Lightly lubricate O-rings
-1-
and
-2-
with high-performance oil for Haldex coupling.
–
Press pump
-arrow-
in until limit stop. Make sure that the wiring protection
-2-
is properly seated.
–
Tighten bolts
-1-
. Tightening torque
→ Item
–
Unscrew securing bolt
-arrow-
from front mounting bracket.
–
Clip wiring harness onto top of Haldex coupling and fit connector
-arrow-
to control unit.
–
Secure rear final drive with a new bolt
-arrow-
to subframe. Tightening torque
→ Item
–
Fill up with high-performance oil for Haldex coupling and check oil level in Haldex coupling
→ Chapter
.
Power transmission
Rear final drive 02D, 0AV, 0BR, 0BS and 0BY
Final drive, differential, differential lock
Exploded view - dismantling and assembling Haldex coupling (generation "Haldex IV"), rear final drive "0BR",
Removing and installing Haldex coupling pumpV181, final drive "0BR/0BS/0BY"
Checking oil level in Haldex coupling and topping up >
< Exploded view - dismantling and assembling Haldex coupling (generation "Haldex IV"), rear final drive "0BR",