| –
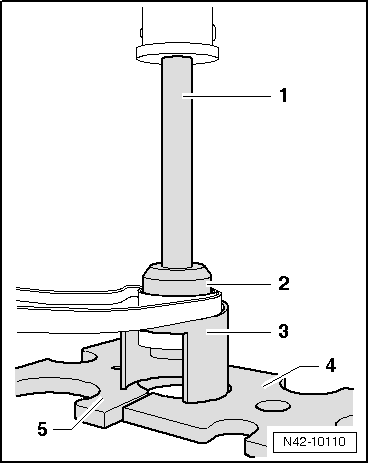
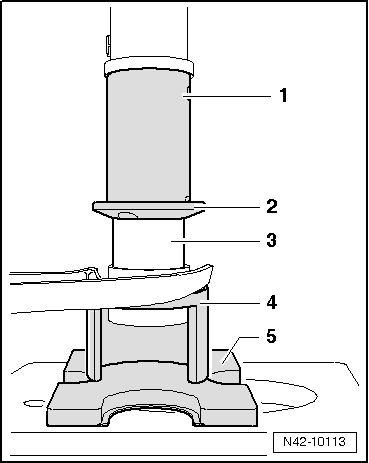
| Apply special tools as shown in illustration. |
| 2 - | Thrust plate -T10230/12- (chamfer must face bonded rubber bush). |
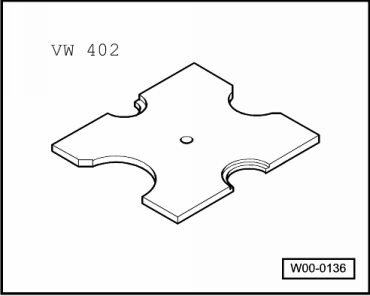
| 5 - | Thrust plate -VW 402- |
| –
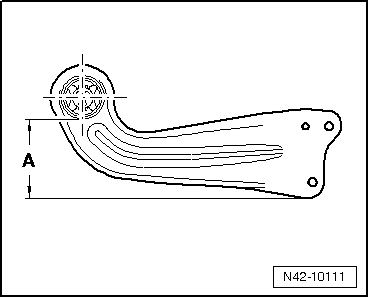
| Press in bonded rubber bush until flush. |
| –
| Attach mounting bracket to trailing arm → Anchor. |
| –
| Install trailing arm with mounting bracket → Chapter. |
|
|
|