audi Workshop Repair Guides

Audi Workshop Service and Repair Manuals

Servicing trailing arm > < Removing and installing wheel bearing unit
Removing and installing trailing arm with mounting bracket
Special tools and workshop equipment required
   
t  Torque wrench -V.A.G 1332-
  W00-0428
t  Support -T10149-
Removing
–  Remove wheel.
–  Remove coil spring → Chapter.
  W00-1297
–  Unscrew bolt -arrow- for handbrake cable -1- from trailing arm -2-.
  A42-0430
–  Unbolt coupling rod -1- from trailing arm.
–  Remove bolts -arrows-.
–  Mark position of mounting bracket on body.
  A42-0468
–  Remove bolts -arrows-.
–  Take out trailing arm with mounting bracket.
The mounting bracket must be detached from the trailing arm if the trailing arm is to be renewed.
The position of the mounting bracket must then be adjusted in relation to the trailing arm.
  A42-0431
Determining installation position of mounting bracket in relation to trailing arm
Dimension -a- is 34 mm.
1 - Mounting bracket
2 - Trailing arm
–  After setting dimension -a-, tighten bolt → Item.
Installing
Installation is performed in reverse sequence; note the following:
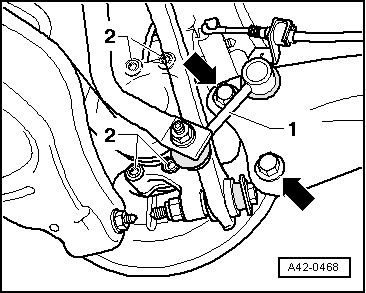
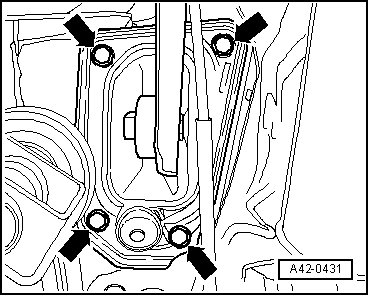
Do not tighten bolts securing trailing arm to wheel bearing housing until all other suspension components (especially spring and shock absorber) on that side are fitted. The wheel suspension must be in extended position before securing. The trailing arm and the wheel bearing housing will only then move into the required position -arrows-.
  A42-0448
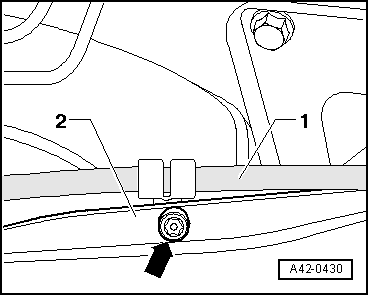
Installation position: Bolt connection between trailing arm and wheel bearing housing
It is important to keep to the specified sequence for the following operations.
  N42-10019
–  Fit trailing arm and mounting bracket to wheel bearing housing with bolts -arrows- (do not tighten at this stage).
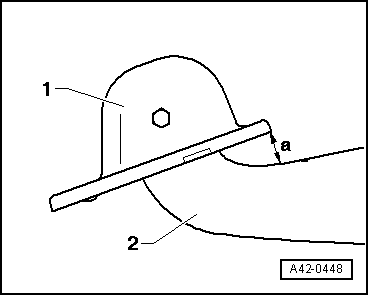
–  Insert coupling rod -1- in trailing arm (do not tighten nut at this stage).
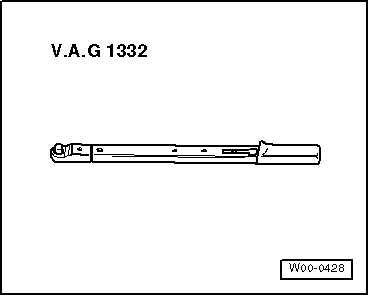
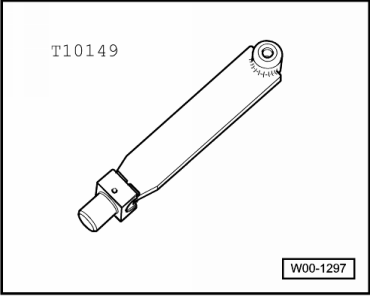
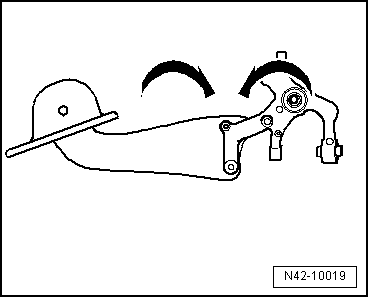
–  Lift wheel suspension with engine and gearbox jack -V.A.G 1383 A- and support -T10149- until mounting bracket makes contact with body.
  A42-0429
–  Tighten bolts -arrows- onto old impression marks.
–  Lower wheel suspension with engine and gearbox jack -V.A.G 1383 A- and remove support -T10149- from wheel hub.
–  Install coil spring → Chapter.
  A42-0431
–  Tighten trailing arm bolts -arrows- to torque (ensure that components are positioned as required) → Fig..
–  Tighten nut -1- securing coupling rod to trailing arm.
  A42-0429
–  Secure handbrake cable -1- to trailing arm -2--arrow-
–  Fit and secure wheel.
Tightening torques → Chapter „Exploded view of subframe, lower transverse link, upper transverse link, track rod, vehicle level senders“
Tightening torques → Chapter „Exploded view of wheel bearing housing, wheel bearing unit, trailing arm with mounting bracket, stone deflector“
Tightening torques → Chapter „Exploded view of shock absorbers, coil springs“
Tightening torques → Chapter „Exploded view of anti-roll bar“
After installation, toe setting must be checked on wheel alignment unit.
–  Check and adjust wheel alignment as required, see chart → Anchor.
  A42-0430

Servicing trailing arm > < Removing and installing wheel bearing unit