A4 Mk1
|
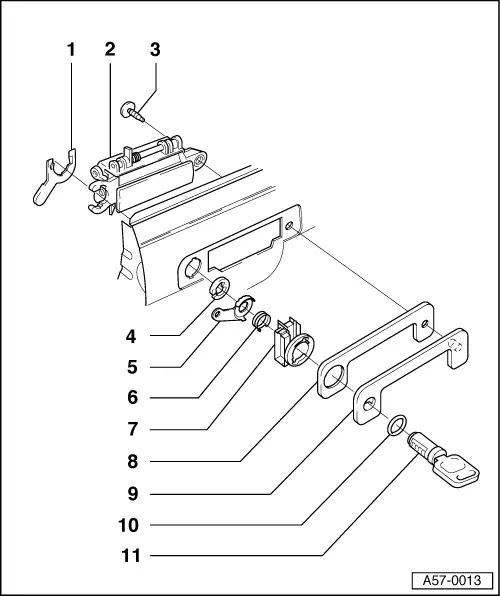
Removing and installing front door handle
>8D XA 200 000
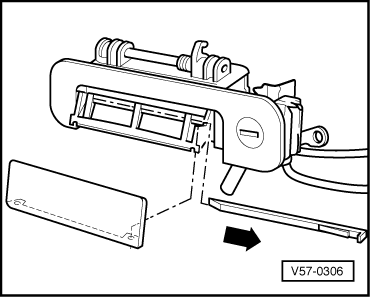
Note: To avoid damage to paintwork on the handle cover, remove it before removing the door handle =>Fig.1.
|
 |
|
|
|
|
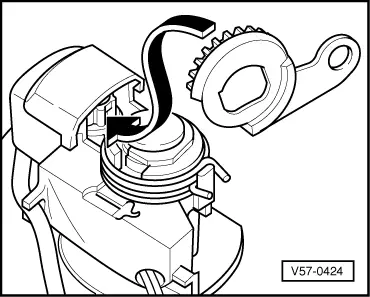
Note: Lock cylinder is removed and installed with key inserted.
|