
A4 Mk1
|
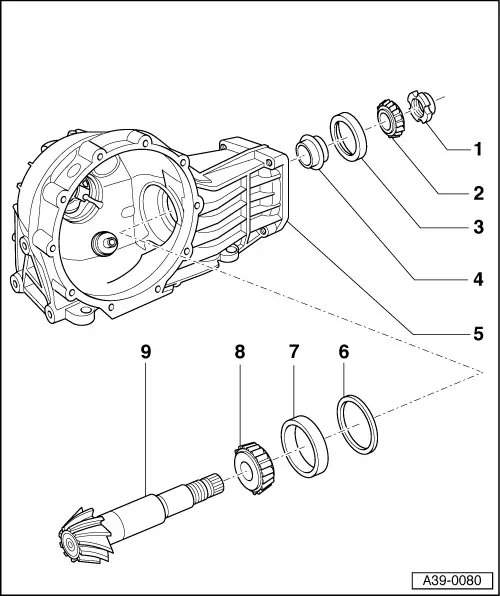
Removing and installing and dismantling and assembling drive pinion
Removing and installing and dismantling and assembling drive pinion
|
 |
|
|
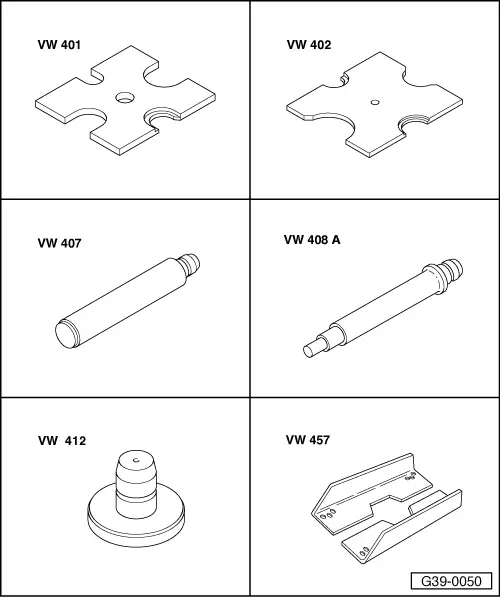
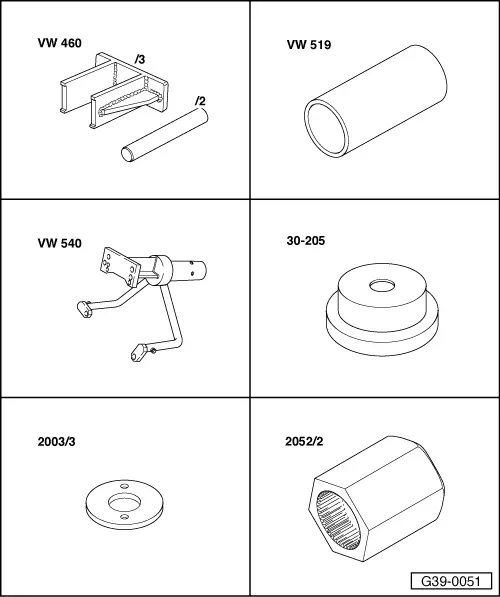
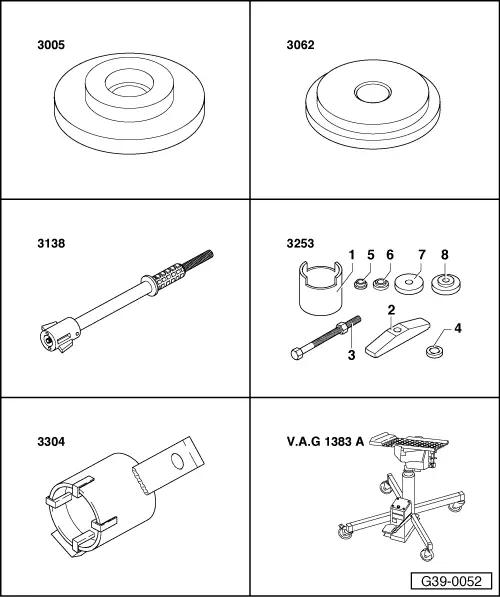
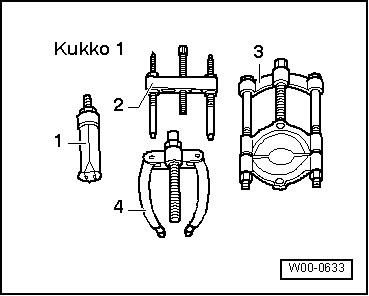
Special tools, testers and auxiliary equipment required
|
 |
|
|
 |
|
|
 |
|
Notes:
|
 |
|
|
|
 |
|
|
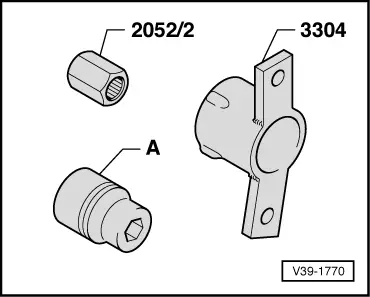
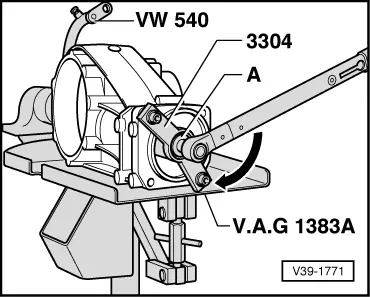
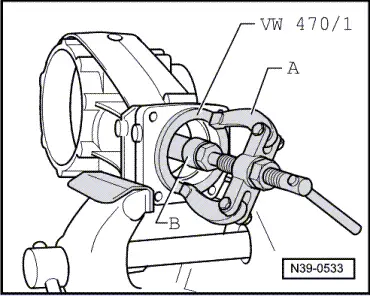
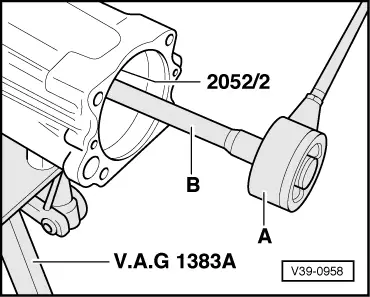
→ Fig.1 Tool for slackening and tightening drive pinion nut
|
 |
|
|
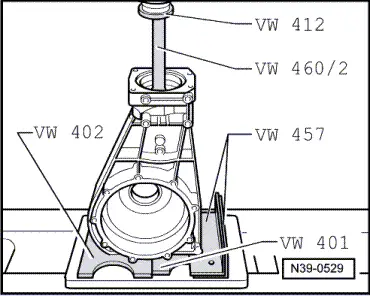
→ Fig.3 Pressing drive pinion out of inner race for small taper roller bearing |
 |
|
|
→ Fig.4 Pulling out small taper roller bearing outer race
|
 |
|
|
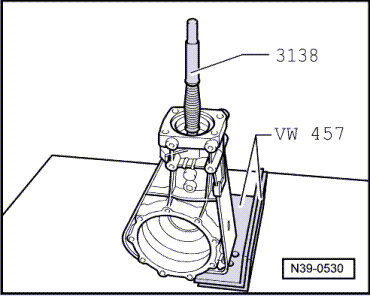
→ Fig.5 Driving out outer race for large taper roller bearing
|
 |
|
|
→ Fig.6 Pressing inner race for large taper roller bearing off drive pinion
|
 |
|
|
→ Fig.7 Pressing inner race for large taper roller bearing onto drive pinion Important:
Wear protective gloves!
|
 |
|
|
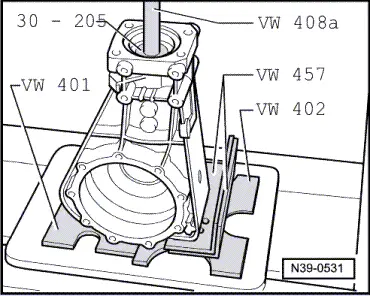
→ Fig.8 Pulling in outer race for large taper roller bearing
Note: Inscription "Oben" ("top") with thrust pad 3253/4 faces the nut of the puller. |
 |
|
|
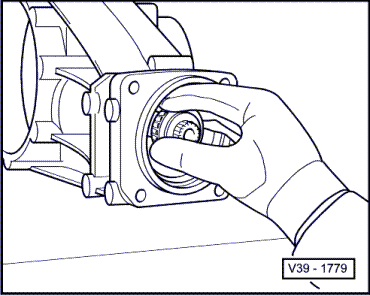
→ Fig.9 Pressing in small taper roller bearing outer race
|
 |
|
|
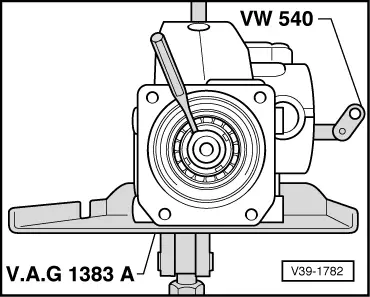
→ Fig11 Tighten nut for drive pinion and adjusting friction torque
Note: If the specified frictional torque is exceeded, the spacer sleeve must be replaced and the adjustment repeated. It is not possible to re-use a spacer sleeve that has been excessively compressed. |
 |
|
|
→ Fig.13 Removing nut for drive pinion
|