
A4 Mk1
|
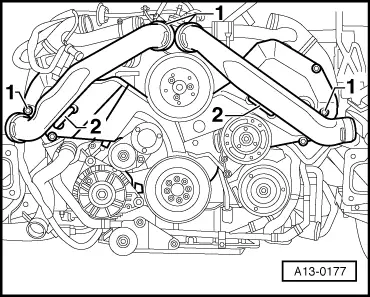
Removing and installing ribbed belt
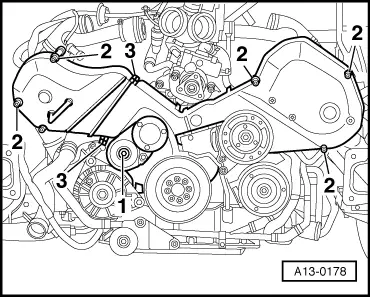
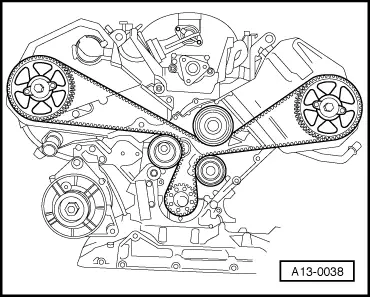
Removing and installing toothed belt
Removing: |
 |
|
|
 |
|
|
 |
|
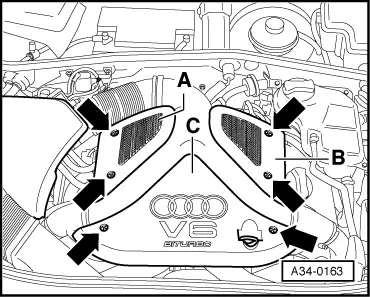
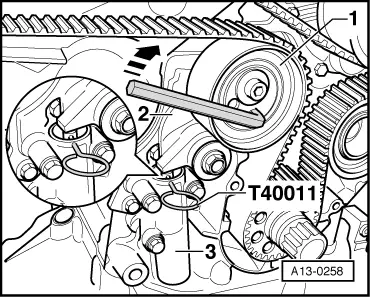
Note: Watch position of retaining strips -2-. |
 |
|
 |
|
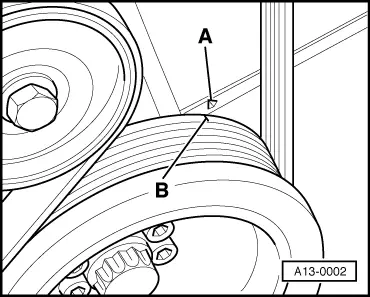
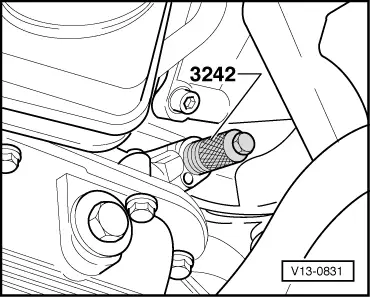
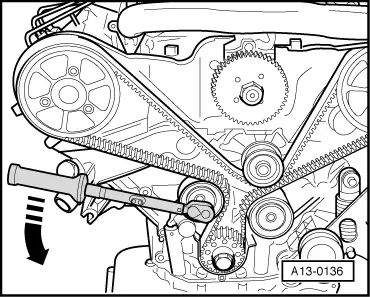
Note: Turn over the engine at the central bolt on the crankshaft.
|
 |
|
Caution:
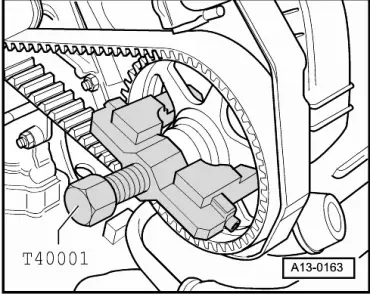
Injury risk - do not turn engine while feeling for TDC drilling. |
 |
|
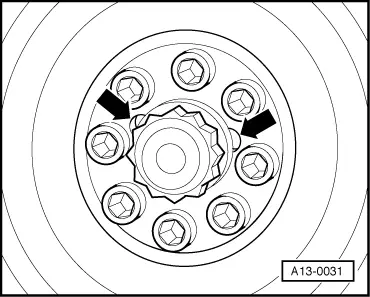
Note: The central bolt does not have to be loosened to remove the vibration damper. |
 |
|
Notes:
|
 |
|
|
 |
|
|
Note: The camshaft sprockets should be just tight enough on the camshaft tapers so that they can still be turned but do not move axially.
|
 |
|
|
 |
|
|
|
|
|
|
||||||||||||||||||||||
1) The central bolt must always be renewed. 2) Turning in two stages of 90°is also permissible. | ||||||||||||||||||||||