audi Workshop Repair Guides

Audi Workshop Service and Repair Manuals

Removing and installing pulley for viscous fan > < Removing and installing radiator fan 2 V177 (front)
Removing and installing viscous fan
Special tools and workshop equipment required
   
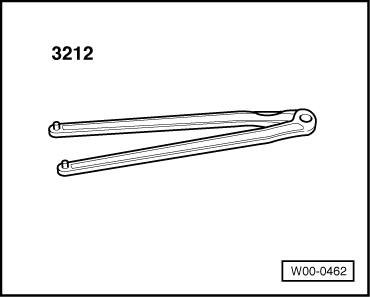
t  Pin wrench -3212-
  W00-0462
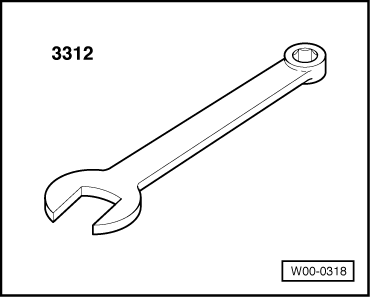
t  Open-end spanner -3312-
  W00-0318
Removing
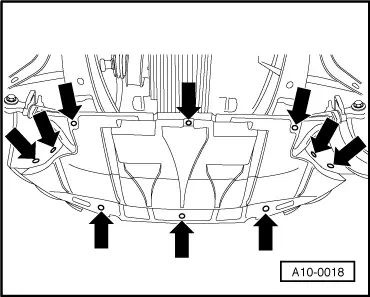
–  Remove noise insulation -arrows-.
–  Remove front bumper → Rep. Gr.63.
–  Move lock carrier to service position → Rep. Gr.50.
  A10-0018
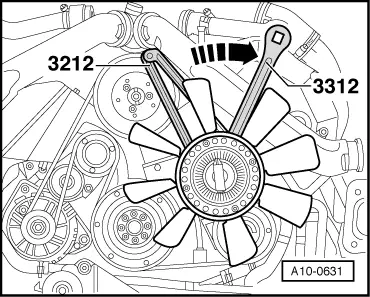
–  Use open-end spanner -3312- to unscrew viscous fan pulley in clockwise direction -arrow- (left-hand thread) while counterholding with pin wrench -3212-.
–  Lift out viscous fan.
  A10-0631
Installing
Installation is carried out in the reverse order; note the following:
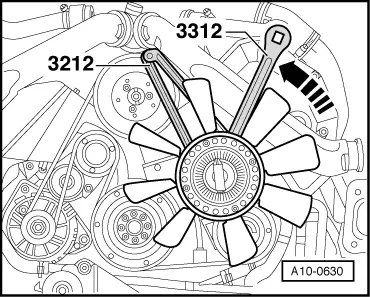
–  Use open-end spanner -3312- to secure viscous fan pulley in anti-clockwise direction -arrow- (left-hand thread) while counterholding with pin wrench -3212-.
–  Install lock carrier with attachments → Rep. Gr.50.
–  Install front bumper → Rep. Gr.63.
Tightening torque
  A10-0630
ComponentNm
Viscous fan to bearing using torque wrench -V.A.G 1331- and open-end spanner -3312-.37
Viscous fan to bearing using torque wrench -V.A.G 1332- without open-end spanner -3312-.70


Removing and installing pulley for viscous fan > < Removing and installing radiator fan 2 V177 (front)