| –
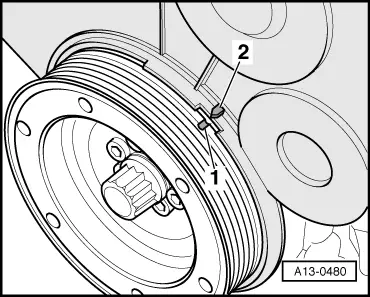
| Unscrew plug for TDC marking from cylinder block. |

Note | There is a TDC drilling in the crankshaft directly behind the sealing plug (it is possible to feel the hole). |

WARNING | To avoid any risk of injury, do not rotate the crankshaft while feeling for the TDC hole with your finger. |
|
| –
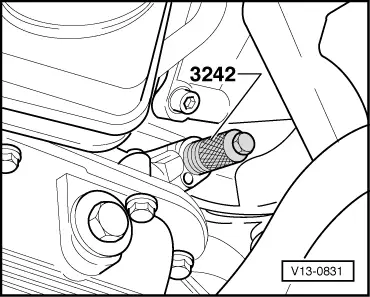
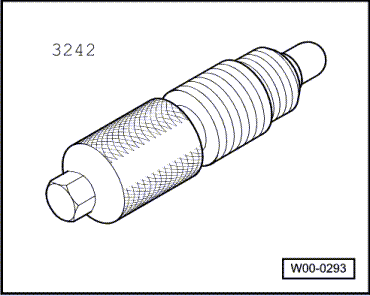
| Screw locking pin -3242- into bore (tightening torque: 20 Nm); if necessary, turn crankshaft backwards and forwards slightly to fully centralise locking pin. |
| –
| Mark installation position of dual-mass flywheel on crankshaft. |
| –
| Unbolt dual-mass flywheel. |
| Installation is carried out in the reverse order; note the following: |
| –
| Use new securing bolts. |
Note | A needle bearing is fitted in the dual-mass flywheel; knock in the needle bearing when fitting a new flywheel → Chapter. |
| –
| Remove locking pin -3242-. |
| –
| Screw plug for TDC marking into cylinder block with new O-ring. |
|
|
|
 Caution