
A4 Mk1
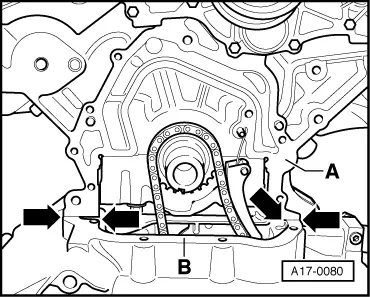
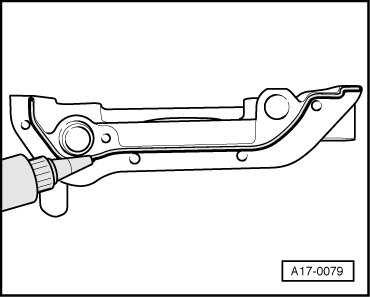
| Removing and installing sealing flange (front) |

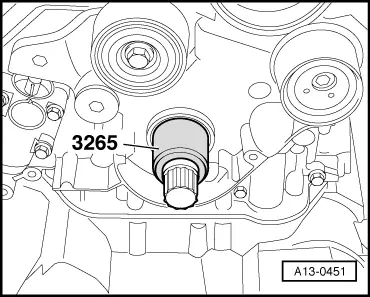
| Special tools and workshop equipment required |
| t | Fitting sleeve -3202/1- from fitting sleeves -3202- |
| t | Fitting sleeve -3265- |
| t | Used oil collection and extraction unit -V.A.G 1782- |
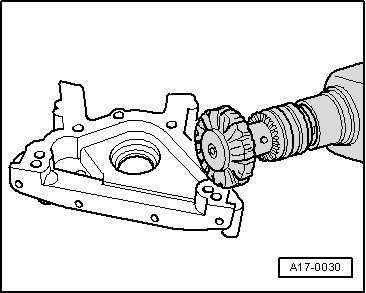
| t | Electric drill with plastic brush attachment |
| t | Safety goggles |
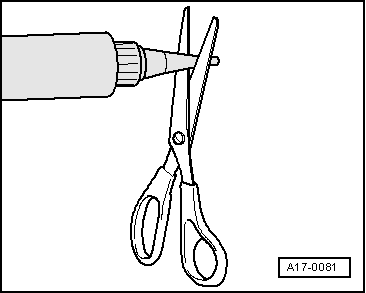
| t | Sealant → Parts catalogue |
|
|
|
|
|
|
|
|
|
|
 Note
Note
|
|
|
|
 WARNING
|
|
Note
|
|
Note
|
|
|
|
|
|
Note |
|
|
|
|
|
Note
|
|
| Component | Nm | |||||||
| Brackets for oil pipes to sump (top section) | 10 | |||||||
| Cover plate to rear cover plate | 10 | |||||||
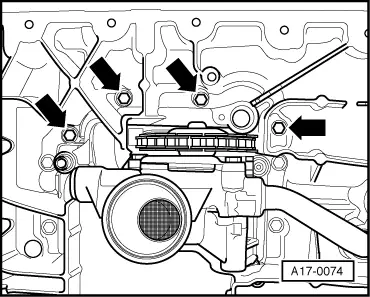
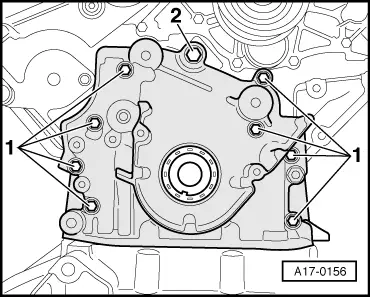
| Front sealing flange to cylinder block | M6 | 10 | ||||||
| M8 | 30 1) | |||||||
| Sealing flange (front) to sump (top section) | M6 | 10 | ||||||
| M7 | 16 | |||||||
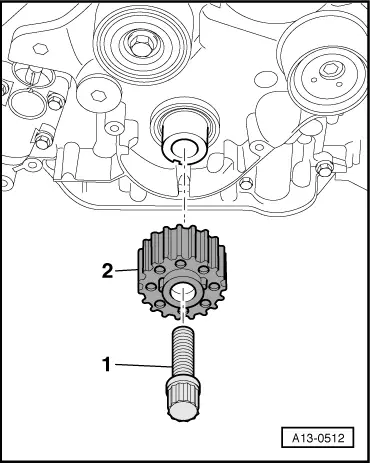
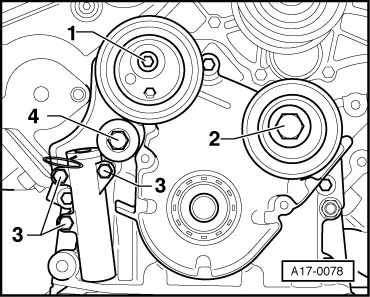
| Toothed belt sprocket to crankshaft | 200 + 180° 2)3) | |||||||
| Toothed belt tensioning roller to sealing flange (front) | 42 | |||||||
| Tensioner to sealing flange (front) | 10 | |||||||
| Tensioning lever to sealing flange (front) | 22 | |||||||
| Tensioning roller to sealing flange (front) | 22 | |||||||
| Idler roller to sealing flange (front) | 43 | |||||||
| ||||||||