A4 Mk2
|
|

|

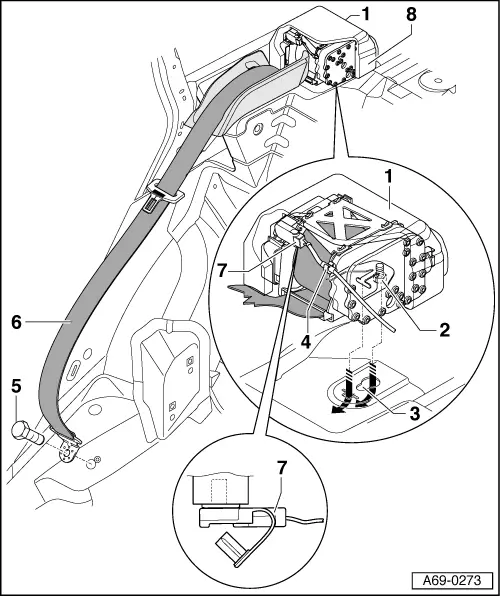
| 1 - | Belt module/belt tensioner |
| t | Removing (saloon): |
| – | Remove C-pillar trim (top) → Chapter. |
| – | Remove rear shelf → Chapter. |
| – | Remove insulation beneath rear shelf. |
| – | Remove luggage compartment side trim → Chapter. |
| t | Removing (Avant): |
| – | Remove luggage compartment side trim → Chapter. |
| t | All vehicles: |
| – | Remove bolt -2- at belt module/belt tensioner -1- from below (access from luggage compartment). |
| – | Loosen bolt -5- at outer seat anchorage point (eye plate at end of belt). |
| – | To unplug connector -7-, use screwdriver to unfasten catch (USA). |
| – | Unfasten cable with clip. |
| t | Installing: |
| – | When installing belt module -1-, make sure bolt -2- makes contact in small hole diameter of fastener -3- during and after tightening. |
| – | Make sure noise insulation cap -8- is properly positioned on belt module -1-. |
| – | Make sure belt tensioner wire -4- is clipped in and not positioned in belt area. |
| – | Make sure connector -7- (USA) engages properly. |
| – | Perform further installation in reverse order of removal. |
| 2 - | Bolt |
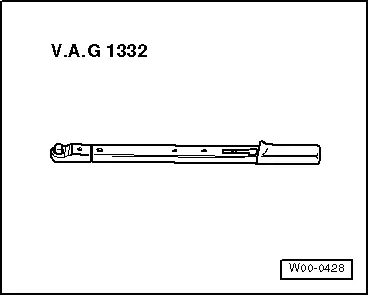
| q | Tightening torque: 55 Nm |
| 3 - | Belt module/belt tensioner fastening holes |
| 4 - | Belt tensioner cable with clip |
| 5 - | Bolt |
| q | Tightening torque: 55 Nm |
| 6 - | Seat belt |
| 7 - | Connector for belt tensioner |
| 8 - | Noise insulation cap |
