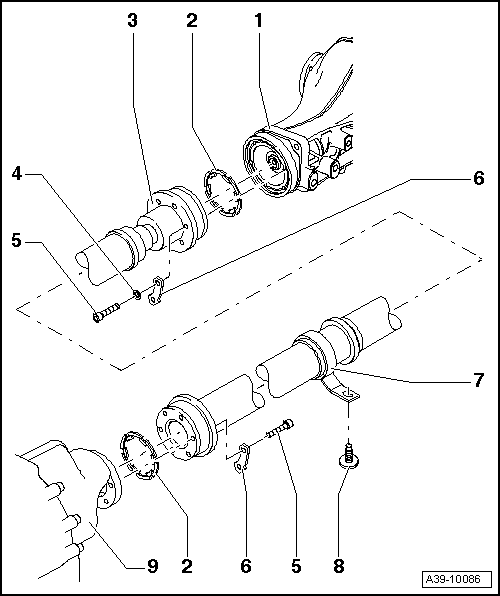
| Servicing propshaft - exploded view |

Note | t
| Refer to general repair instructions → Chapter. |
| t
| No repair work can be carried out on the propshaft with the exception of removing, installing and adjusting. |
| t
| The propshaft should normally be kept straight when it is stored or transported. |
| t
| The propshaft can be bent as far as the stop at the centre joint, but must not be subjected to any kind of force. The centre joint or the protective boot can be damaged if the joint is forced against its stop. |
| t
| The propshaft must be tied up or supported at one end if it is detached only at the gearbox or at the rear final drive. If necessary, the propshaft can be bent as far as the stop at the centre joint, but it must not be subjected to force. |
| t
| Before removing, mark the positions of all parts in relation to each other. Reinstall in the same position to avoid excessive imbalance, resulting in bearing damage and rumbling noise. |
| t
| Use counterhold tool -T10172- with adapters -T10172/5- to slacken and tighten the propshaft bolts. |
| t
| After detaching the propshaft from the rear final drive, the additional balancing washer (thicker washer) that may be fitted between the lock plate and the bolt head (hexagon socket bolt) must not be reinstalled. |
| t
| If problems occur (noise or vibration), ensure that the centre bearing is free of stress and check the radial runout of the propshaft flange at the rear final drive before renewing the propshaft → Chapter. |
|
|
|