| –
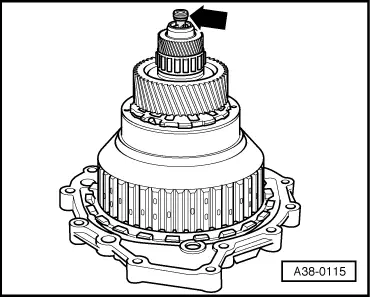
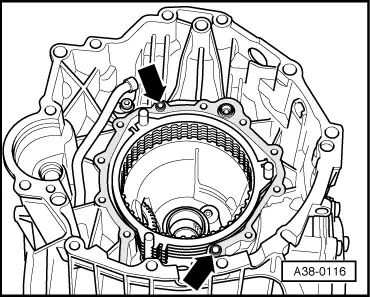
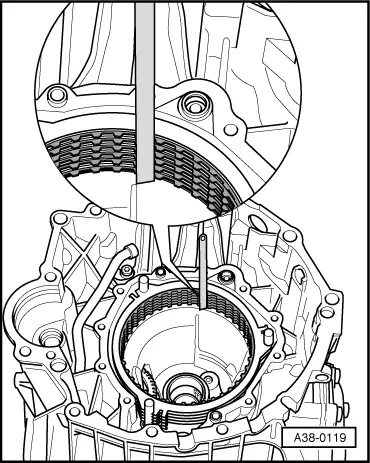
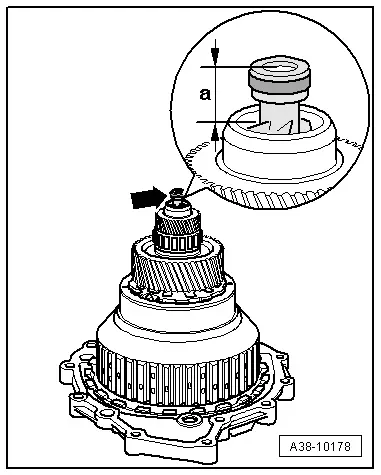
| Check position of oil pipe -arrow- : |
| l
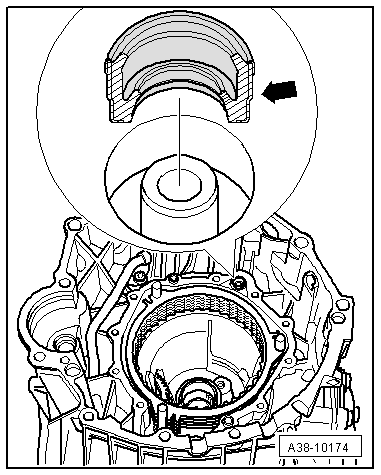
| With oil pipe fully inserted, distance -a- from end of oil pipe to input shaft should be 11.5 mm. |
| If the distance is less, the oil pipe may be damaged (the end could have broken off if the oil pipe was pushed in too far). |
| If the distance is larger, the oil pipe is not pushed in far enough. |

Caution | t
| Do not put down input shaft on the protruding oil pipe -arrow-, as oil pipe would then become damaged. |
| t
| A damaged oil pipe will cause drive-away problems or complete gearbox failure. |
|
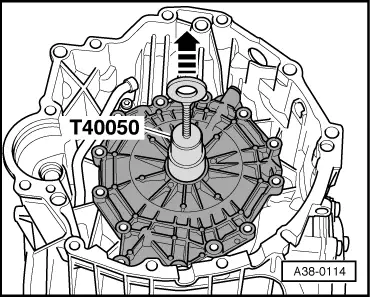
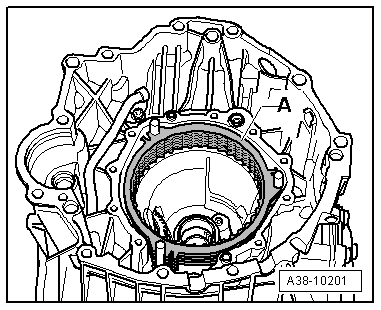
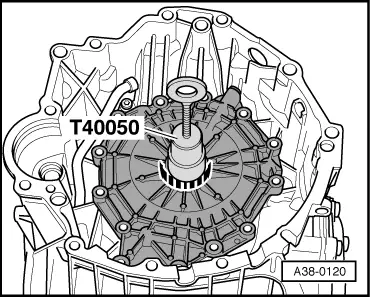
| –
| Insert complete input shaft assembly in gearbox housing. |
|
|
|

 Note
Note