
A4 Mk2
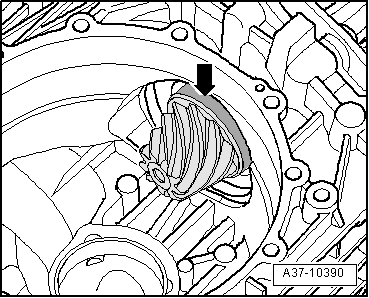
| Replacing oil seal for pinion shaft |

| Special tools and workshop equipment required |
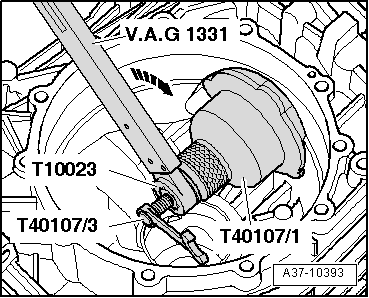
| t | Torque wrench -V.A.G 1331- |
| t | Insert tool -T10023- |
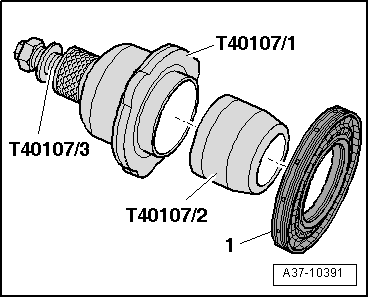
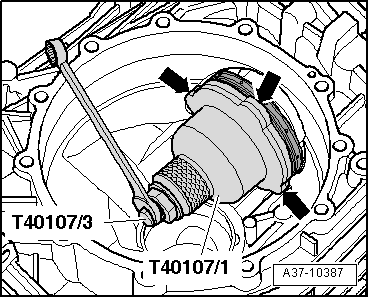
| t | Removal and assembly tool -T40107- |
| t | Assembly lever |
| t | Cleaning fluid -D 009 401 04- |
 Note
Note
|
|
|
 Caution
|
|
|
|
|
|
|
|
|
|
Note
|
|
|
|
Note
|
|
Note
|
|