| –
| Renew centre bolt for toothed belt sprocket. |
| l
| Contact surface between toothed belt sprocket and crankshaft must be free of oil. |
| l
| Do not lubricate bolt for crankshaft sprocket. |
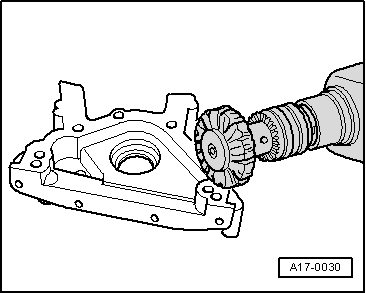
| –
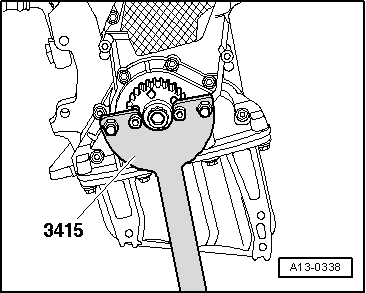
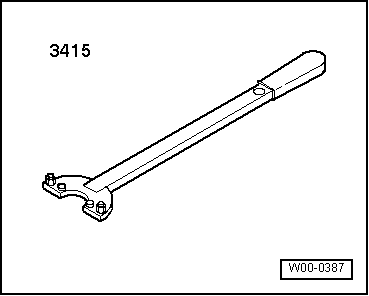
| Install crankshaft sprocket. To do this, counterhold sprocket with counterhold tool -3415-. |
| The remaining installation steps are carried out in the reverse sequence. |
| –
| Fit toothed belt (adjust valve timing): |
| t
| Vehicles with hydraulically damped tensioning roller - engine codes AVB, AVF, AWX → Anchor. |
| t
| Vehicles with friction-damped tensioning roller - engine codes AVB, AVF, AWX → Anchor. |
| –
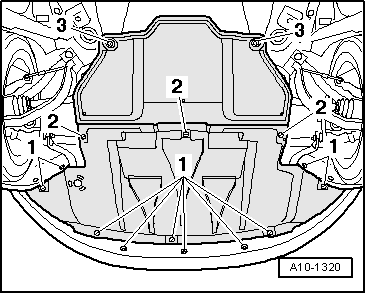
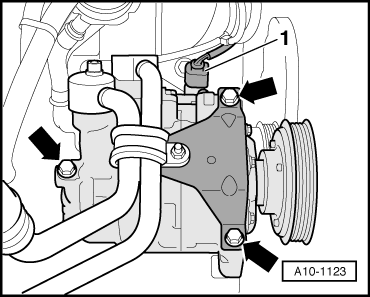
| Install bracket for air conditioner compressor → Item |
|
|
|

 Caution
 Note
Note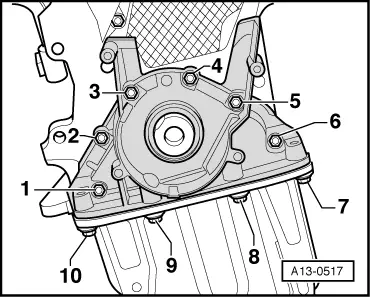
 WARNING