
A4 Mk3
 Note
Note| Overview of components (saloon) |
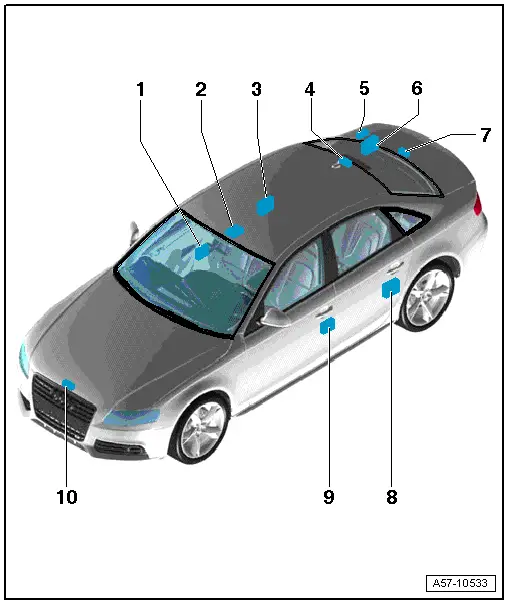
| 1 - | Front passenger door control unit -J387- |
| q | Removing and installing → Anchor |
| 2 - | Anti-theft alarm sensor -G578- |
| 3 - | Rear right door control unit -J389- |
| q | Removing and installing → Anchor |
| 4 - | Tank filler flap locking motor -V 155- |
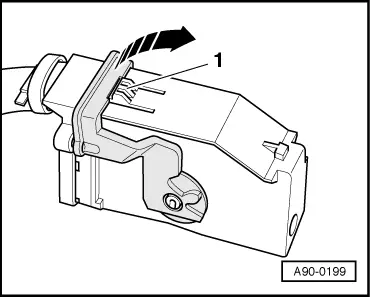
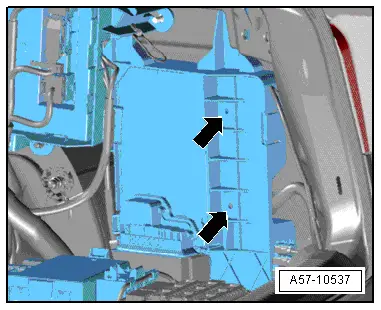
| 5 - | Convenience system central control unit -J393- |
| 6 - | Interface control unit for vehicle location system -J843- |
| q | Removing and installing → Anchor |
| 7 - | Rear lid release motor -V139- |
| 8 - | Rear left door control unit -J388- |
| q | Removing and installing → Anchor |
| 9 - | Driver door control unit -J386- |
| q | Removing and installing → Anchor |
| 10 - | Bonnet contact switch -F266- |
| Overview of components (Avant) |
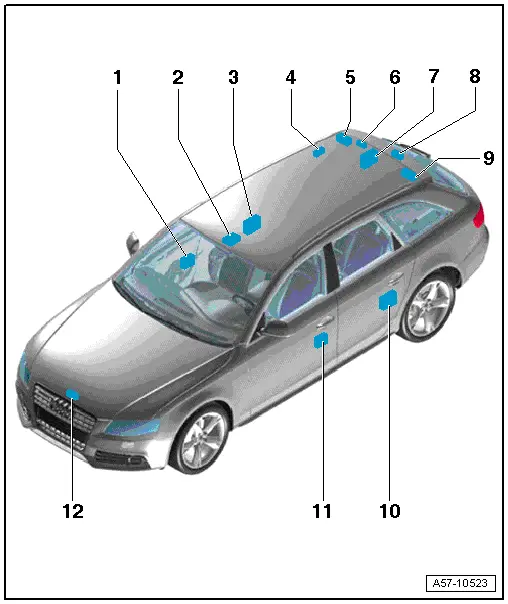
| 1 - | Front passenger door control unit -J387- |
| q | Removing and installing → Anchor |
| 2 - | Anti-theft alarm sensor -G578- |
| 3 - | Rear right door control unit -J389- |
| q | Removing and installing → Anchor |
| 4 - | Tank filler flap locking motor -V 155- |
| 5 - | Rear lid control unit -J605- |
| 6 - | Interface control unit for vehicle location system -J843- |
| q | Removing and installing → Anchor |
| 7 - | Convenience system central control unit -J393- |
| q | Removing and installing → Anchor |
| 8 - | Rear lid release motor -V139- |
| 9 - | Rear lid control unit -J756- |
| 10 - | Rear left door control unit -J388- |
| q | Removing and installing → Anchor |
| 11 - | Driver door control unit -J386- |
| q | Removing and installing → Anchor |
| 12 - | Bonnet contact switch -F266- |
|
|
|
|
|

|
|
|
|
|