audi Workshop Repair Guides

Audi Workshop Service and Repair Manuals

Removing and installing B-pillar trim (bottom) > < Exploded view of B-pillar trim
Removing and installing B-pillar trim (top)
  Note
Removal and installation are identical on the left and right.
Special tools and workshop equipment required
   
t  Removal wedge -3409-
  W00-0016
Removing
  WARNING
Observe safety regulations for pyrotechnic components → Chapter.
–  Remove belt end fitting (front) → Chapter.
–  Operate belt height adjustment button and move belt height adjustment slide to bottom position.
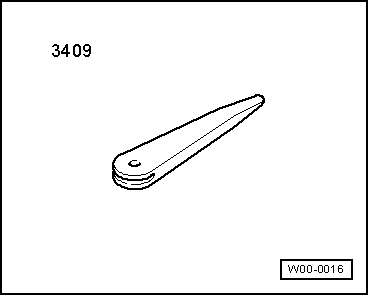
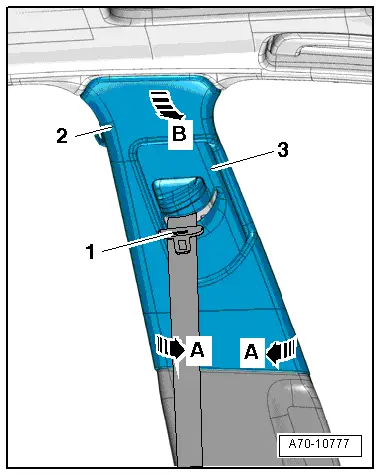
–  Apply removal wedge -3409- at bottom edge of B-pillar trim (top) and unclip B-pillar trim (top) -2--arrows A-.
–  Pull B-pillar trim (top) out of mounting on body -arrow B-; to do so, swivel trim inwards and at the same time pull it off downwards.
–  Thread belt -1- with latch plate through slide for belt height adjuster -3- and detach B-pillar trim.
Installing
  WARNING
t  Observe safety regulations for pyrotechnic components → Chapter.
t  Take care not to trap curtain airbag when fitting B-pillar trim.
  A70-10777
–  Thread in belt -2- with latch plate through slide for belt height adjuster.
  Note
Make sure belt height adjuster is in bottom position.
–  Make sure mounting -3- of slide of B-pillar trim (top) -1- engages in retaining pin -4- at belt height adjuster.
Perform remaining installation steps in reverse order of removal; observe the following:
–  Install belt end fitting (front) → Chapter.
–  First insert B-pillar trim into moulded headliner opening and in mounting on inside of roof.
–  Fold lips of door seals over trim.
  A70-10433

Removing and installing B-pillar trim (bottom) > < Exploded view of B-pillar trim