| –
| Remove operating lever for cable → Chapter. |
| –
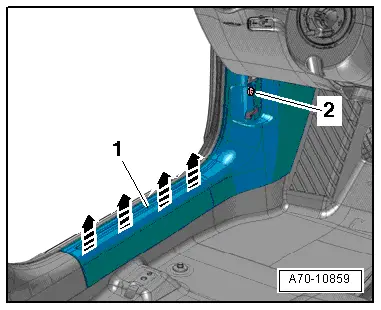
| Remove bolt -2- for sill panel trim (front). |
| Both sides of vehicle (continued): |
| –
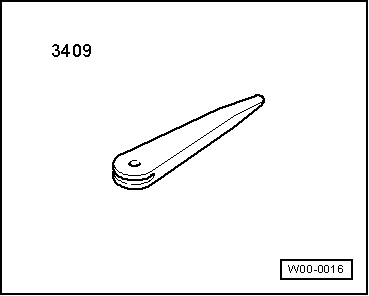
| Starting at rear, use removal wedge -3409- to unclip sill panel trim (front) -1- from side member -arrows-. |
| –
| Pull sill panel trim (front) out of foot rest towards rear. |
| –
| Disengage sill panel trim (front) at mounting for operating lever and detach. |
| Install in reverse order of removal. Note the following: |

Note | t
| If there are still trim clips in the body mounting points, they must be removed and inserted in the trim when installing. |
| t
| Check the clips for damage or deformation and renew them if necessary. |
| –
| Engage sill panel trim (front) at mounting for operating lever and slide into foot rest. |
| –
| Insert guide for sill panel trim (front) in floor covering. |
| Both sides of vehicle (continued): |
| –
| Clip in sill panel trim (front) at side member and fold over lip of door seal. |
|
|
|