audi Workshop Repair Guides

Audi Workshop Service and Repair Manuals

Bleeding clutch system > < Removing and installing clutch master cylinder
Removing and installing clutch slave cylinder
Special tools and workshop equipment required
   
t  Torque wrench -V.A.G 1331-
  W00-0427
t  Engine bung set -VAS 6122-
t  Safety goggles
  W00-10435
Removing
–  Observe notes on removing and installing clutch master cylinder and slave cylinder → Chapter.
  Note
Do not allow brake fluid to come into contact with the gearbox. If necessary, clean the gearbox housing.
–  Remove rear noise insulation (loosen fasteners -2- and -3-).
  A10-10624
  WARNING
Risk of eye injury.
Wear safety goggles.
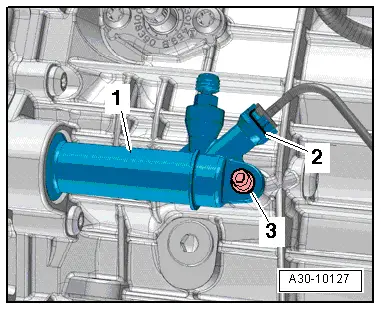
–  Release retaining clip -2- using a screwdriver and pull out to limit stop.
–  Disconnect pipe/hose assembly from clutch slave cylinder and plug pipe/hose.
–  Remove bolt -3- and pull out clutch slave cylinder -1- to the rear.
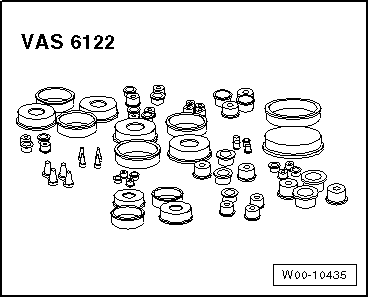
  Note
Seal off open lines and connections with clean plugs from engine bung set -VAS 6122- to prevent dirt from entering.
Installing clutch slave cylinder
Installation is carried out in reverse sequence; note the following:
  Note
t  Renew O-ring if damaged.
t  If the clutch slave cylinder is inserted at an angle, there is a danger that the operating rod will be guided past the clutch release lever.
  A30-10127
–  When installing, press in clutch slave cylinder -1- so that securing bolt -3- can be fitted easily; tightening torque → Item.
–  Press in retaining clip -2- as far as stop.
–  Push hose/pipe assembly into clutch slave cylinder until it engages audibly.
–  Pull on pipe/hose assembly to check it is secure.
–  Bleed clutch system → Chapter.
–  Install rear noise insulation → Rep. gr.66.
  A30-10127

Bleeding clutch system > < Removing and installing clutch master cylinder