audi Workshop Repair Guides

Audi Workshop Service and Repair Manuals

Removing and installing high-pressure pump > < High-pressure pump - exploded view
Removing and installing high-pressure pipe
Special tools and workshop equipment required
   
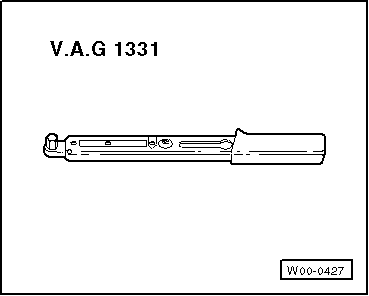
t  Torque wrench -V.A.G 1331-
  W00-0427
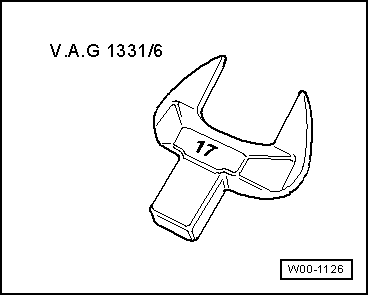
t  Tool insert, AF 17 -V.A.G 1331/6-
Removing
  WARNING
The fuel system operates at extremely high pressure. This can cause injury.
The fuel pressure in the high-pressure section of the injection system must be reduced to a residual pressure prior to opening the system.
–  Reduce fuel pressure in high-pressure section of injection system → Chapter.
–  Remove air conditioner compressor → Rep. gr.21.
  W00-1126
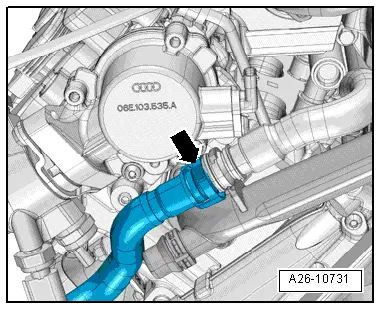
–  Press release tabs and detach secondary air hose -arrow- to front from bracket.
  A26-10731
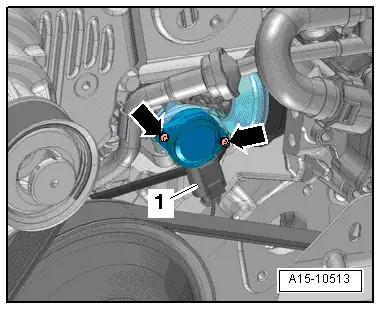
–  Remove bolts -arrows- and move intake manifold flap potentiometer -G336- with vacuum unit for intake manifold flap clear to one side.
  Note
t  Disregard -item 1-.
t  The procedure is illustrated for the left-side cylinder bank 2.
  A15-10513
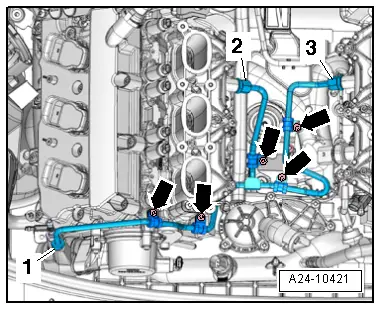
–  Unscrew bolts -arrows- and bolt connection -1-.
–  Unscrew union nuts -2- and -3- (counterhold threaded connection).
  Note
Do not attempt to bend high-pressure pipe to a different shape.
Installing
l  Tightening torques: High-pressure pump - exploded view → Chapter.
  Note
t  The connections of the high-pressure pipe must not be damaged.
t  Do not attempt to bend high-pressure pipe to a different shape.
  A24-10421
–  First tighten union nut by hand until it makes contact, making sure that high-pressure pipe is not under tension.
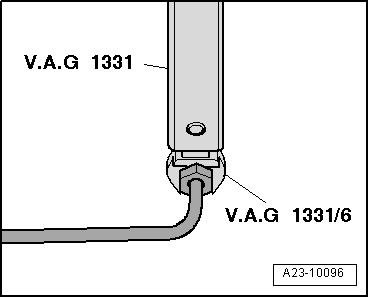
–  Tighten union nut with torque wrench -V.A.G 1331- and tool insert, AF 17 -V.A.G 1331/6-; to do so, counterhold at hexagon flats of threaded connection on fuel rail with an open-end spanner.
–  Do not tighten bolt for retainer until high-pressure pipe has been tightened.
–  Install air conditioner compressor → Rep. gr.21.
  A23-10096

Removing and installing high-pressure pump > < High-pressure pump - exploded view