
1 Series E87 123d (N47S) 5-door
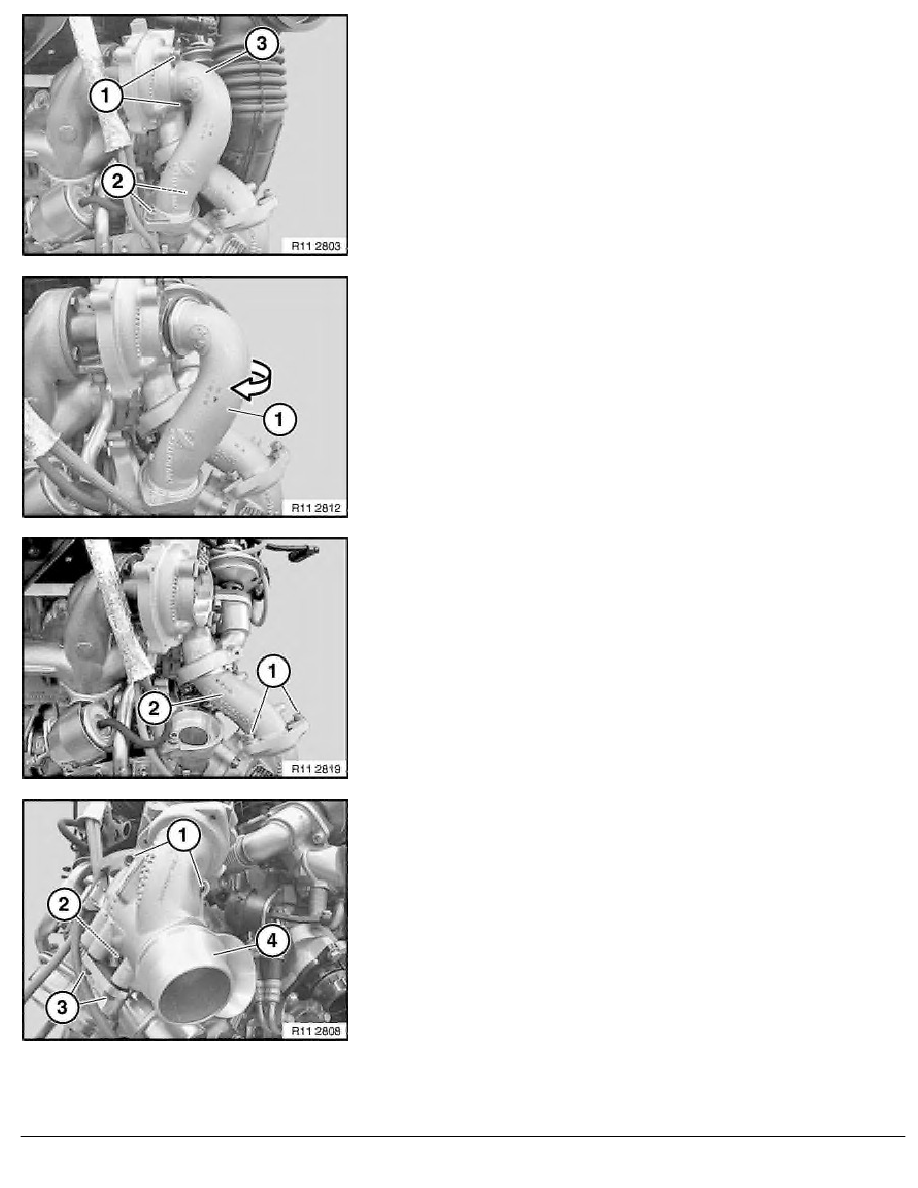
Release screws (1) and (2) on connecting pipe (3).
Twist out connecting pipe (1) in direction of arrow.
Installation:
Check sealing rings for damage and replace if necessary.
Coat sealing rings when installing with anti-friction agent.
Release screws (1) on connecting pipe (2).
Installation:
Check sealing rings for damage and replace if necessary.
Coat sealing rings when installing with anti-friction agent.
Release screws (1).
Screw (2) can be released only vacuum unit screws (3) have
been slackened slightly.
Tightening torque 11 65 2AZ
.
RA Removing and installing/replacing high-pressure exhaust turbocharger (small turb
BMW AG - TIS
26.01.2013 01:51
Issue status (12/2007) Valid only until next DVD is issued
Copyright
Page - 4 -