
3 Series E46 316i (M43TU) SAL
Note:
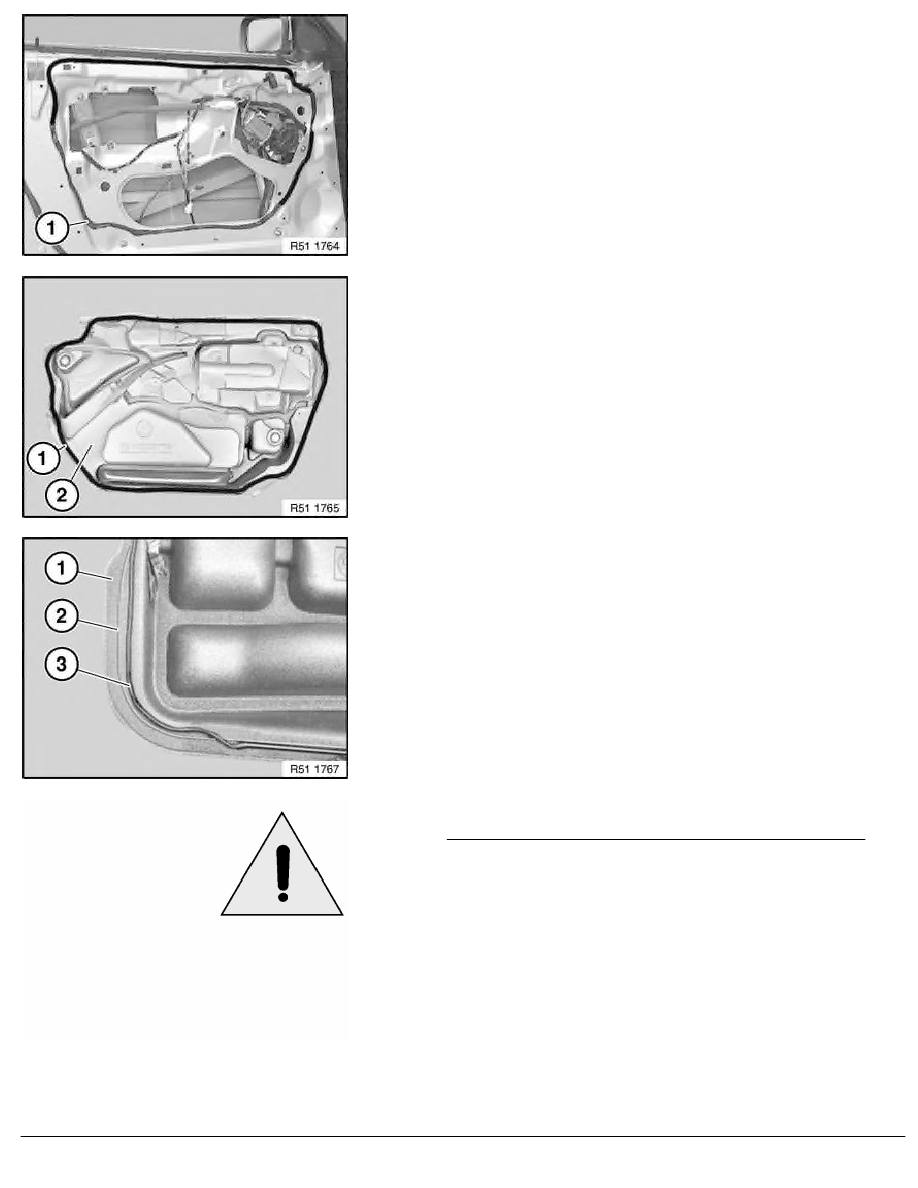
Position of butylene tape (1) on inner door panel is identified by
center punch marks.
Note:
Position of butylene tape (1) on sound insulation (2).
Note:
A marking (2) is provided all round on the sound insulation (1).
Butylene tape (3) rests on or inside the marking (2).
Important!
When working with adhesive cleaners in enclosed rooms:
Ensure room is well ventilated.
Adhesive areas must be dry and free of dust and grease.
After cleaning, do not touch the adhesive areas with bare
hands (leakage).
If necessary, clean the specified adhesive area with adhesive
cleaner (sourcing reference: BMW Parts Service).
Air drying time: 1 minute
RA Removing and installing/replacing sound insulation in front door, left or right
BMW AG - TIS
19.01.2013 15:18
Issue status (12/2007) Valid only until next DVD is issued
Copyright
Page - 2 -