
3 Series E46 M3 (S54) COUPE
Important!
First detach hose on filler neck at top - risk of damage.
Note:
After disconnecting hoses, seal off pump outlet and hoses.
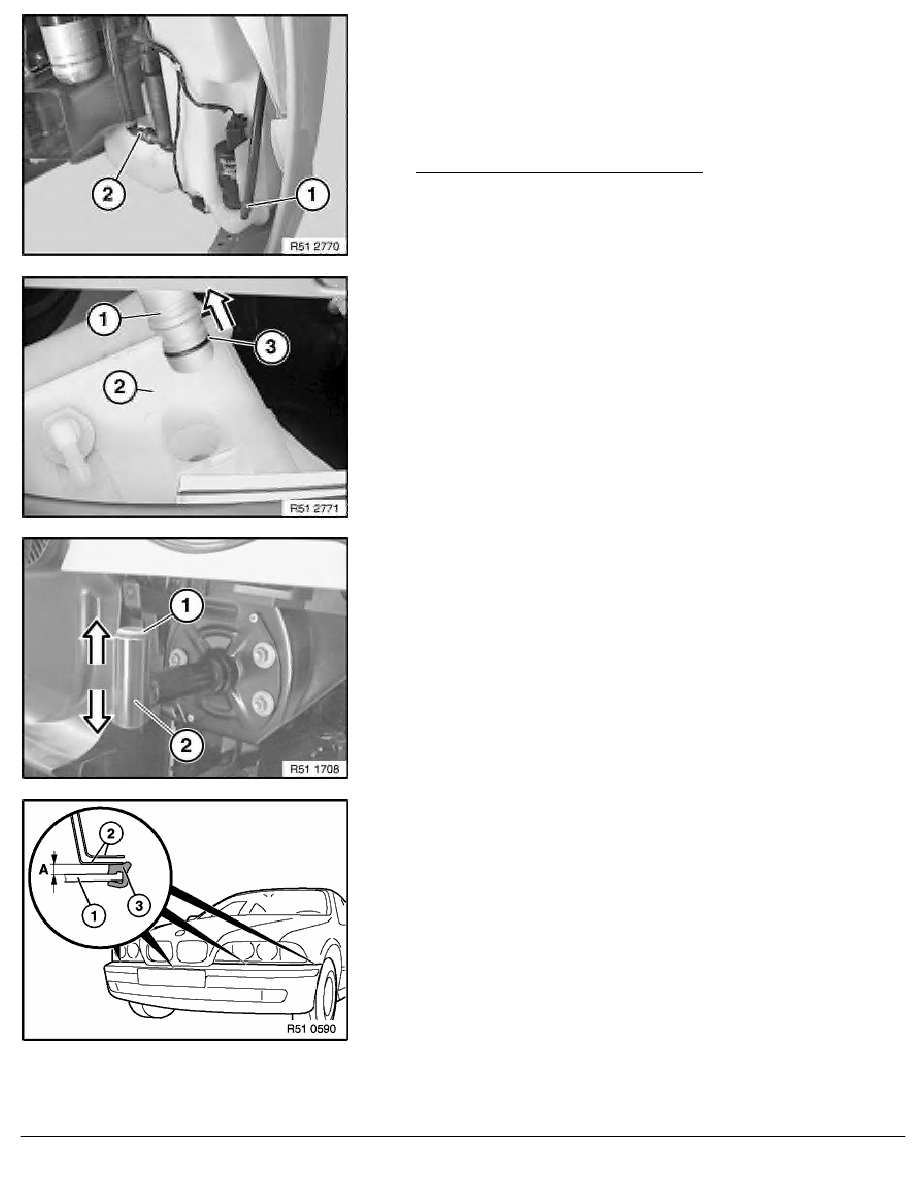
Remove hose (1).
Version with headlight cleaning system:
If necessary, unlock and detach hose (2).
Pull back bumper on right a little.
Detach filler hose (1) from washer fluid reservoir (2).
Installation:
If necessary, replace faulty O-ring (3).
Remove bumper.
Installation:
Height of bumper is adjusted by turning socket head cap
screws (1) on impact absorber (2).
Ideal adjustment:
Gap (A) must be the same all round between bumper and body
cutout.
Measurement (A) = 5
±
1 mm
RA Removing and installing complete front bumper (M3, M3 CSL)
BMW AG - TIS
16.02.2013 20:01
Issue status (12/2007) Valid only until next DVD is issued
Copyright
Page - 3 -