
5 Series E34 525td (M51) TOUR
Unscrew propeller shaft on transmission.
Installation:
Replace stop nuts.
Tighten nuts to specified torque.
Tightening torque,
refer to Technical Data 26 11 1AZ.
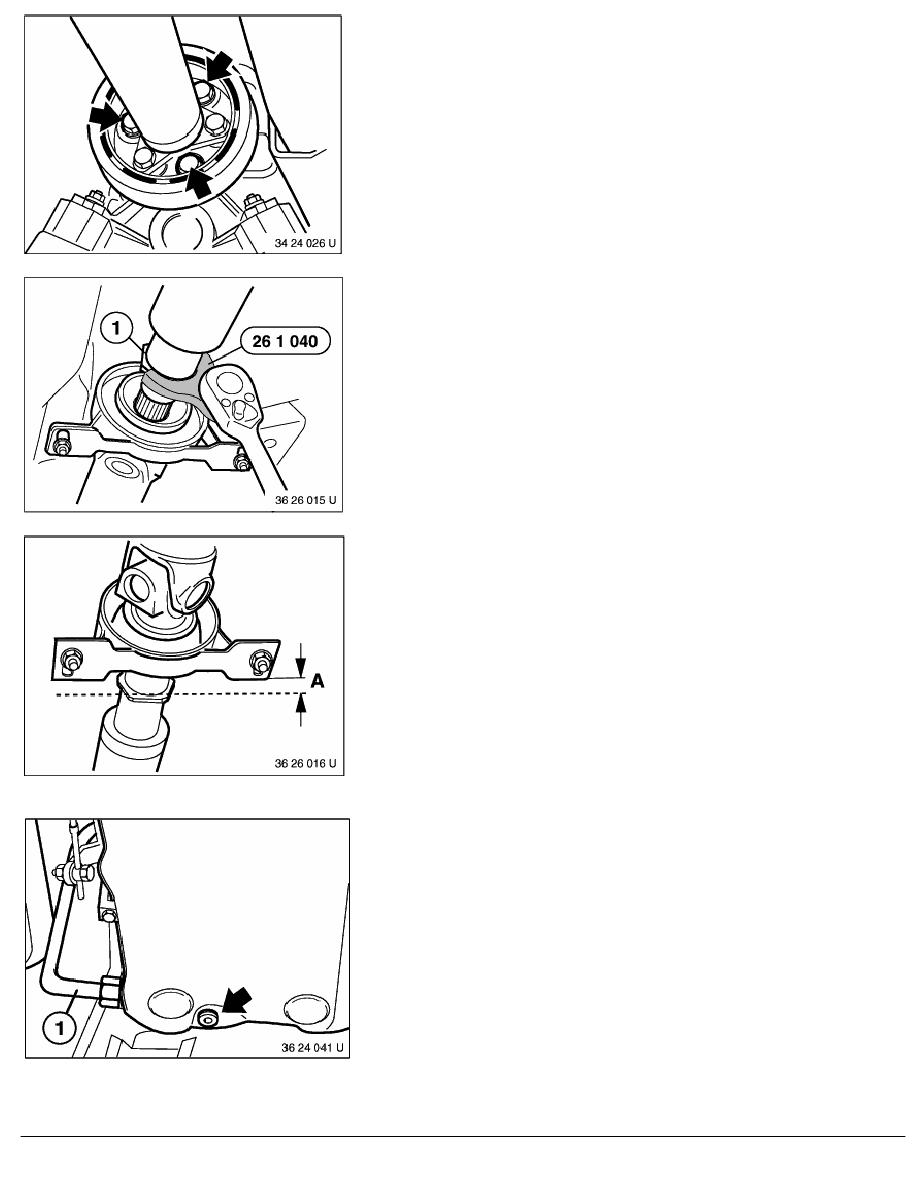
Loosen screwed-on ring (1) several turns.
Installation:
After installation, tighten screw ring (1) with special tool
26 1 040.
Tightening torque,
refer to Technical Data 26 11 3AZ.
Press joint disk away from transmission.
Unscrew centre mount.
Installation:
Preload centre mount in direction of travel (A) 4 ... 6 mm.
Tightening torque,
refer to Technical Data 26 11 6AZ.
Bend down propeller shaft and pull off transmission.
Caution!
Do not let propeller shaft fall into joints.
Suspend propeller shaft from vehicle with a piece of wire.
Drain off fluid.
Remove oil filler pipe (1) (if installed).
Installation:
Tightening torque,
refer to Technical Data 24 11 8AZ.
RA Removing and installing automatic transmission (A5S 310Z)
BMW AG - TIS
23.01.2013 07:16
Issue status (12/2007) Valid only until next DVD is issued
Copyright
Page - 2 -