
5 Series E39 528i (M52) SAL
Warning!
When clamping spring coils in the upper and lower spring
holder, they must be completely inserted in the recess.
The special tool 31 3 341 must not be tightened or
untightened with an impact screwdriver.
Clamp the coil springs together, but only until load is relieved
on the thrust bearing. The coils may not be tensioned on a
block.
Only untighten the nut if both spring coils are completely
inserted in the spring holder recess! If necessary, repeat the
process.
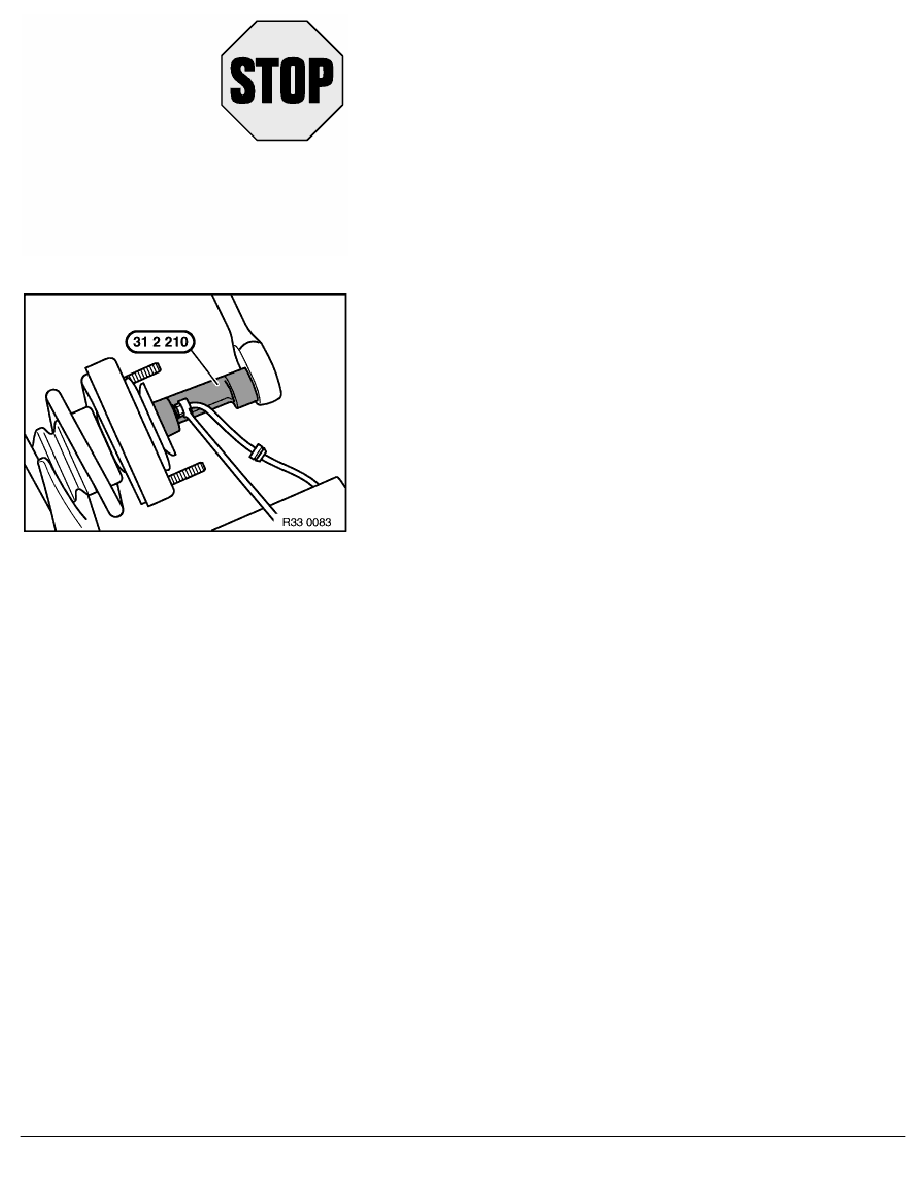
Unfasten nut with special tool 31 2 210 (brace with ring spanner)
and remove shock absorber.
Follow notes (1 and 2) if a new coil spring is installed.
Note 1:
Relieve tension on special tool 31 3 341 and remove coil spring.
The special tool must not be tightened or untightened with an
impact screwdriver.
Note 2:
Accommodate new coil spring in special tool in such a way that a
coil is outside spring holders on both sides.
Note:
M5 coil spring-> the spring coil with the protective hose must be
fitted facing upwards to the support bearing!
RA Removing and installing / replacing rear left or right coil spring
BMW AG - TIS
21.02.2013 20:39
Issue status (12/2007) Valid only until next DVD is issued
Copyright
Page - 3 -