
5 Series E60 M5 (S85) SAL
Installation:
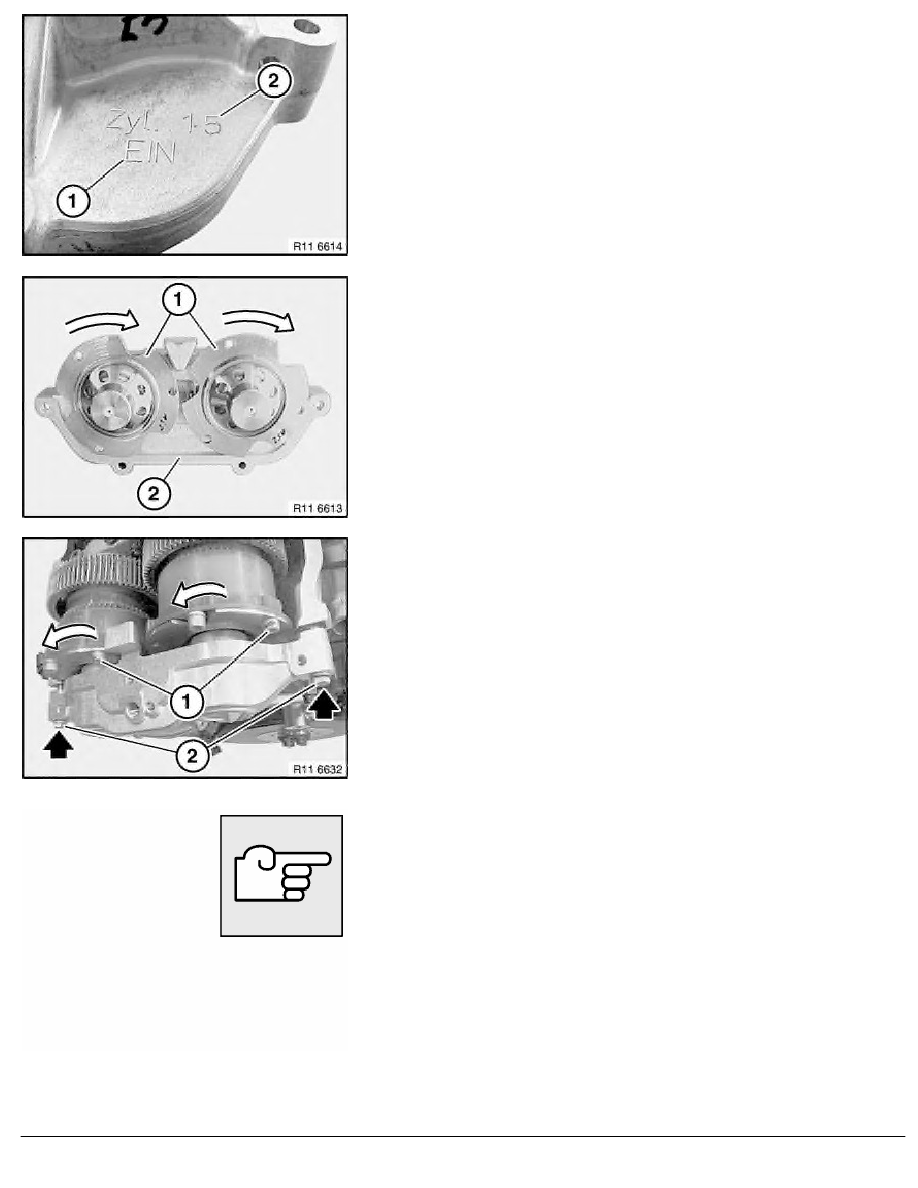
VANOS adjustment units are marked to avoid being mixed up.
The lettering EIN (1) must point to the inlet camshaft.
Cylinder assignment (2), cyl. 1-5 or 6-10.
Important!
Risk of mixing up
Check thrust bearing plates (1) for ease of movement before
installing.
Clean sealing surface (2).
Insert screws (2).
Insert hexagon socket screws (1) without washers.
Continue cranking engine at central bolt or with special tool
11 5 100 through 120
°°°°
until further hexagon socket screws
without washers can be inserted on the VANOS gear.
Tighten all hexagon socket screws without washers (1) to 10 Nm
.
Installation:
Mark all hexagon socket screws which are already tightened down
with a coloured dot.
Assemble engine.
There is air in the VANOS system once it is opened.
In the first few seconds after startup this results in a clearly
discernible "rattling noise".
This rattling noise does "not" indicate incorrect assembly.
The rattling noise will disappear as soon as the oil pressure has
built up and the system has vented.
Carry out venting procedure with diagnosis tester.
Perform VANOS test.
RA Removing and installing / replacing right VANOS adjustment unit (S85)
BMW AG - TIS
22.02.2013 16:39
Issue status (12/2007) Valid only until next DVD is issued
Copyright
Page - 3 -