
7 Series E38 L7 (M73) SAL
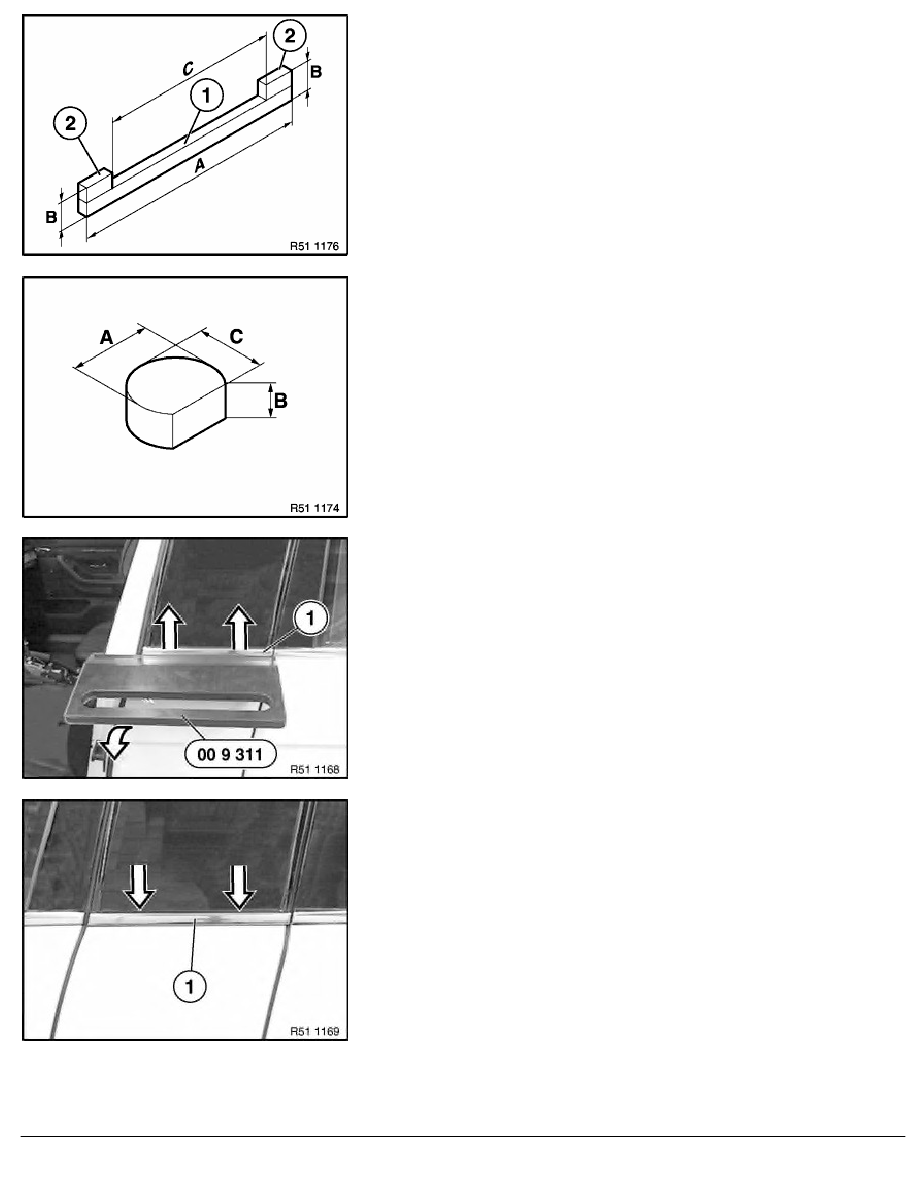
Mount spacers (2), e.g. by gluing, on measuring strip (1).
Dimensions:
(A) 480 mm
(B) 20 mm
(C) 420 mm
Note:
Measurement (B) must be the same over the entire length (A).
Make 2 spacers for gap of side window to front door.
Dimensions:
(A) 20 mm
(B) 8.5 mm (gap)
(C) 16 mm (minimum height)
If possible, use plastic to avoid scratching the side window and
trims.
Open front door and lever out window cavity trim (1) with special
tool 00 9 311 (trim remover).
Installation:
Center and press on window cavity trim (1).
RA Removing and installing/replacing trim (side window) on door pillar (center door
BMW AG - TIS
22.02.2013 04:55
Issue status (12/2007) Valid only until next DVD is issued
Copyright
Page - 2 -