
7 Series E38 L7 (M73) SAL
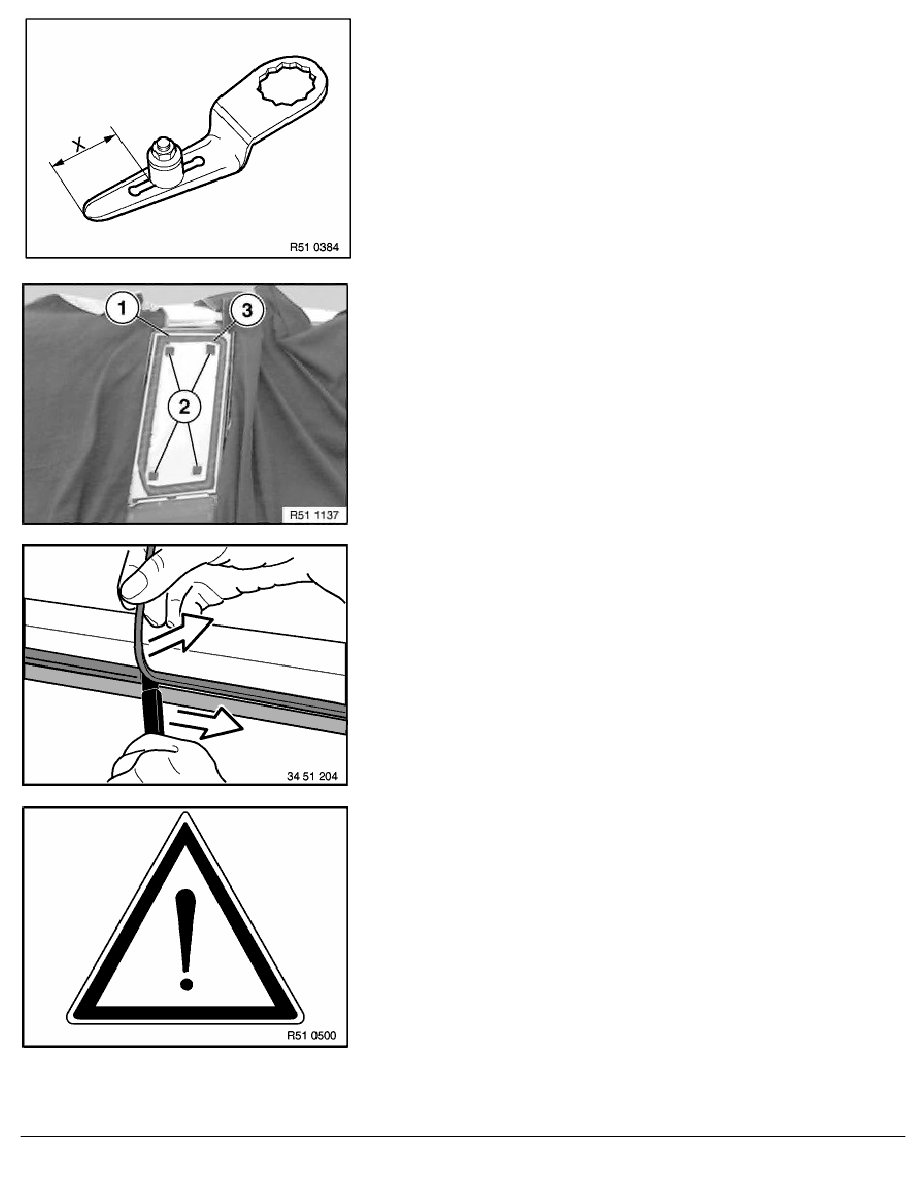
Attach a straight blade with adjustable contact roller (sourcing
reference: BMW Parts Service) on electric cutting tool and adjust
measurement (X).
Measurement (X) = width of adhesive bead.
Note:
Resharpen knife with machine running.
Detach strip (1) at top and fasteners (2).
Attach fabric adhesive tape to rest of adhesive bead (3).
Cover metal inside adhesive bead with adhesive tape (risk of
damage).
Carefully insert knife between body and adhesive bead (3). Run
knife blade parallel to side window and cut out rest of side window.
Thoroughly vacuum up remaining glass splinters.
Trim down glue residue in body aperture to a thickness of approx.
0.5 mm.
Trim off adhesive residue carefully with a scalpel (razor sharp) to
avoid damaging the paint finish.
Caution!
To ensure long-term protection against corrosion, always
touch up damage to paintwork (scratches or large areas of
damage),
refer to 51 13 ...
RA Removing and installing/replacing trim (side window) on door pillar (center door
BMW AG - TIS
22.02.2013 04:55
Issue status (12/2007) Valid only until next DVD is issued
Copyright
Page - 4 -