
7 Series E38 L7 (M73) SAL
Note:
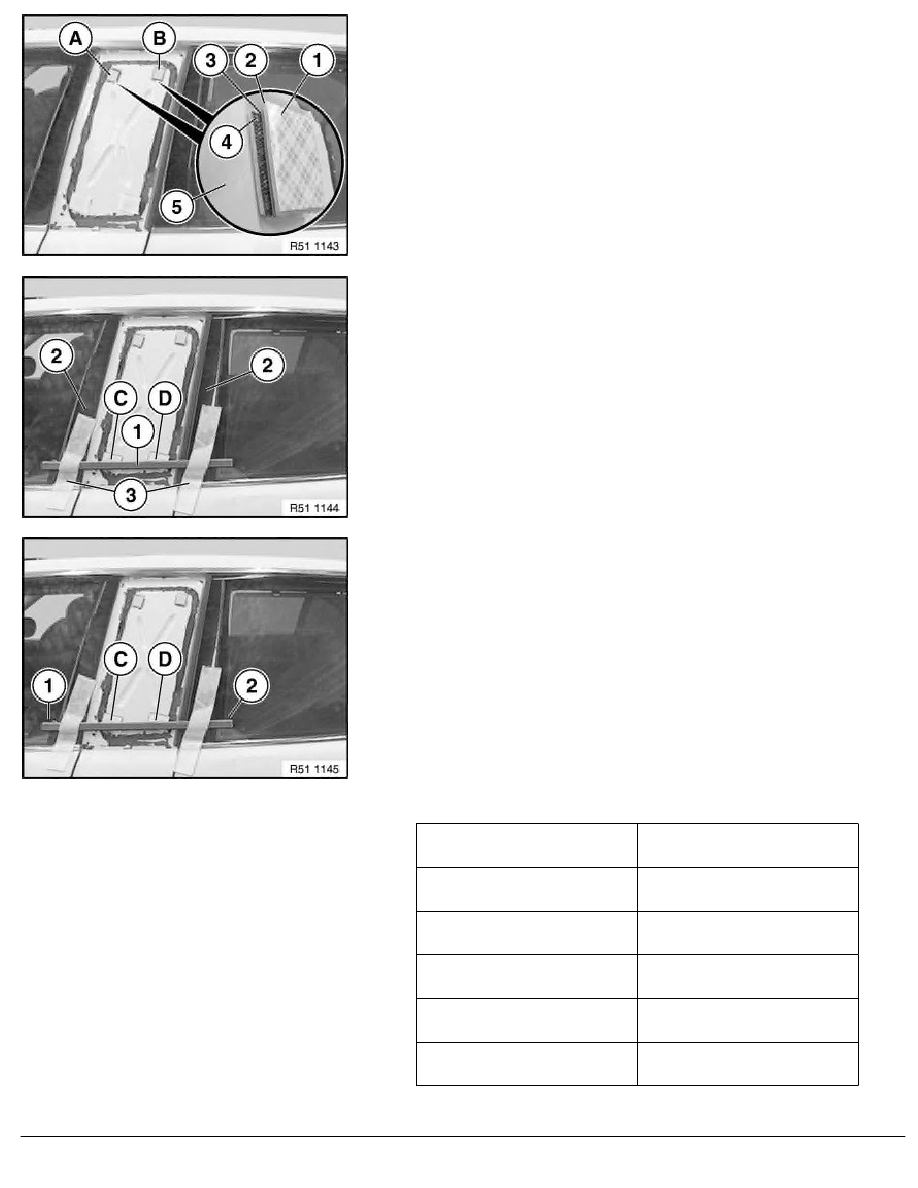
Do not detach liner (1) from last compensating adhesive tape
(2) until side window is bonded.
1
Liner
2
Compensating adhesive tapes
3
Velcro-type fastener
4
Fastener on "center door"
5
"Center door"
Position measuring rod (1) over fasteners (A) and (B) (measuring
rod (1) must not rest on trims (2)), if necessary secure with
adhesive tape (3).
The distance from the measuring rod (1) to the front and rear door
windows must be the same.
Calculation example:
Distance from fastener (C) to front door, bottom:
Designation:
Distance:
Depth to fastener
30.0 mm
-
Depth to front door (1)
24.0 mm
-
Height of side window
4.0 mm
=
Distance (C)
2.0 mm
-
0 to 1 mm
1.0 mm
RA Removing and installing/replacing trim (side window) on door pillar (center door
BMW AG - TIS
22.02.2013 05:41
Issue status (12/2007) Valid only until next DVD is issued
Copyright
Page - 8 -