
7 Series E38 L7 (M73) SAL
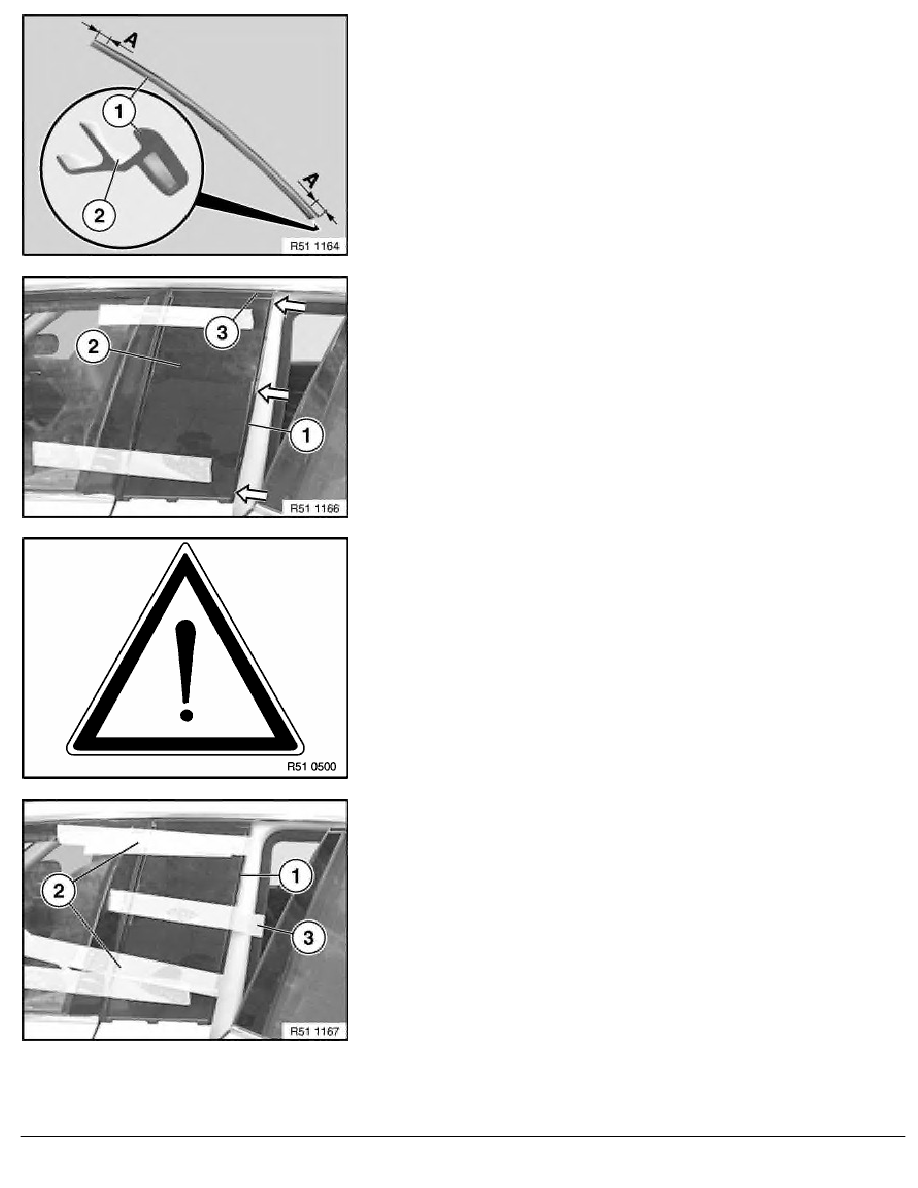
Apply adhesive in adhesive channel (2) of trim strip (1).
No adhesive is applied in area (A).
(A) = 10 mm
Attach trim strip (1) to side window (2) and align upwards towards
strip (3).
Caution!
Remove dirt from residual glue with Sika remover 208
(Sourcing Reference: BMW Parts Service) before glue is
hard. Do not press side window back out. Hardened glue can
only be removed by machine.
Secure trim strip (1) in position with adhesive tape (2) (stretched
around trim strip (1) at "center door").
Note:
Attach adhesive tape (3) only after side window has been
aligned, see next work step.
RA Removing and installing/replacing trim (side window) on door pillar (center door
BMW AG - TIS
22.02.2013 05:41
Issue status (12/2007) Valid only until next DVD is issued
Copyright
Page - 18 -