
X Series E53 X5 4.8is (N62-S) OFFRD
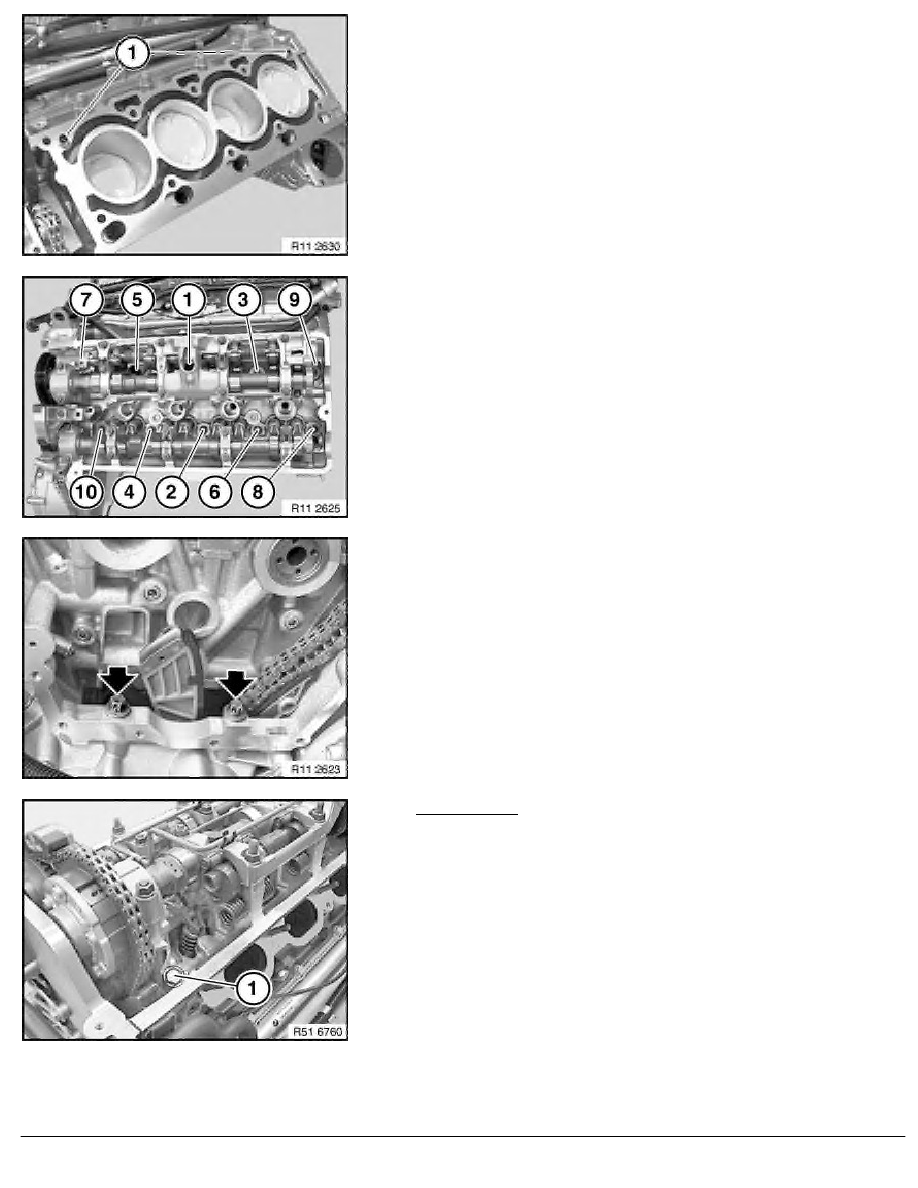
Check dowel sleeves (1) for damage and correct installation
position.
Fit new cylinder-head seal.
Put the cylinder head on.
Note:
Do not wash off bolt coating. Insert new cylinder head bolts and
initially tighten so that they are free of play.
At narrow points, use a socket with 3/8" drive and a short
extension.
Tighten down the cylinder-head bolts in order 1 ... 10.
Tightening torque 11 12 8AZ
.
Insert and tighten down screws between cylinder head and timing
case cover.
Replacement:
Insert screw plug (1).
Installation:
Failure to install the screw (1) will result in a malfunction in the
VANOS control.
RA Removing and installing left cylinder head (N62 from 9/03 and N62TU)
BMW AG - TIS
12.02.2013 03:48
Issue status (12/2007) Valid only until next DVD is issued
Copyright
Page - 4 -