
X Series E53 X5 4.8is (N62-S) OFFRD
37 22 540
Replacing air supply unit (ride-height control)
Warning!
Danger of injury!
Drain the air spring system before carrying out any work on
the air supply unit, air pipes and air springs! Danger of injury if
this instruction is not complied with!
Risk of damage!
The vehicle must not stand on its wheels when the air springs
are depressurized! Otherwise the air spring struts will be
damaged and later destroyed during driving!
Extreme cleanliness must be ensured in the connection area
of the pipes during removal and installation. Even the smallest
of dirt particles can cause leakage in the air spring system.
Note:
Read and comply with notes on air spring system.
Necessary preliminary tasks:
•
Deactivating air spring system:
-
Raise vehicle on lifting platform.
-
Remove ignition key
-
Pull fuse for control unit
•
Remove spare wheel/emergency wheel
•
Secure removal aid to luggage compartment floor trim panel
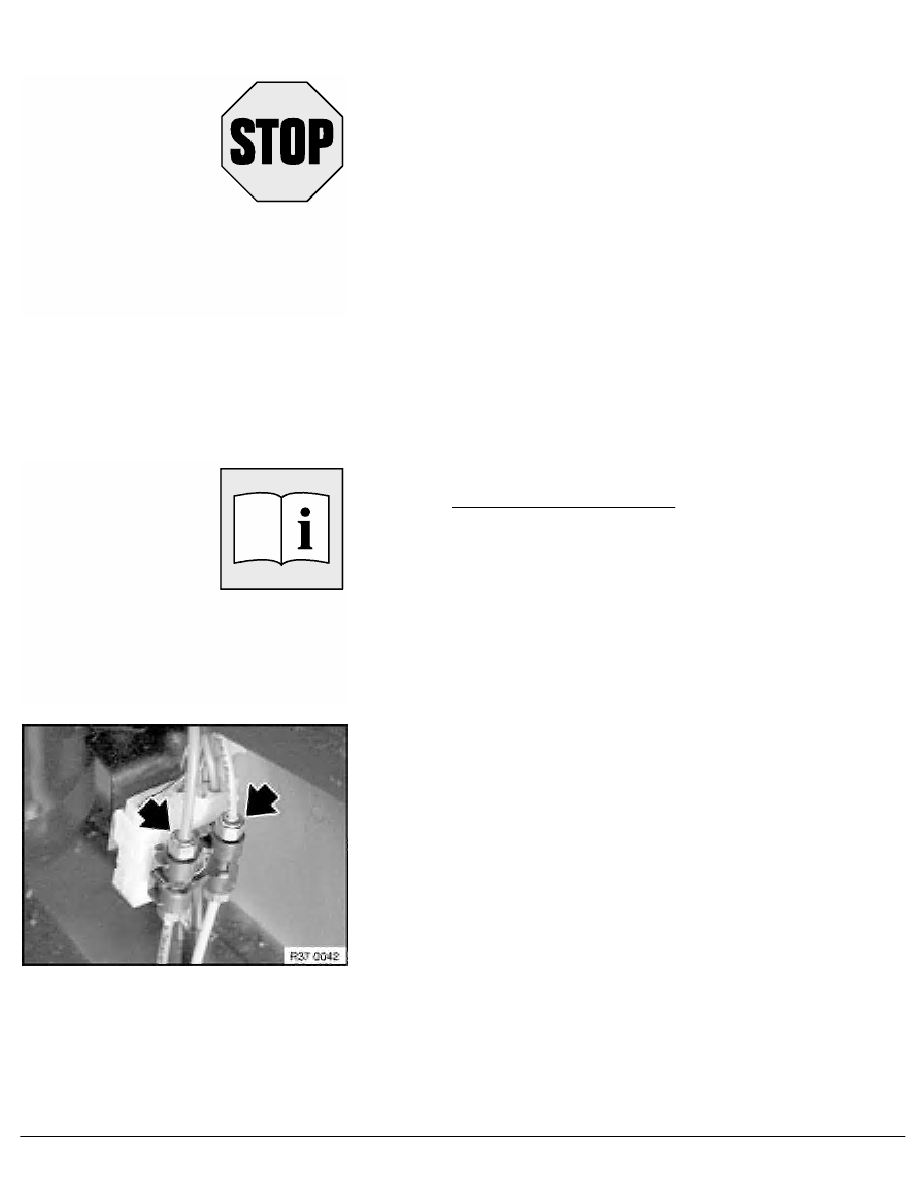
Note:
Wait approx. 2 minutes until pressure has been completely
reduced (hissing sound ceases).
Carefully slacken banjo bolts until the sound of escaping air can
be heard.
Installation:
Check banjo bolts for dirt, clean if necessary.
Connect pipes (same colour to same colour).
Carefully insert banjo bolts by hand in order to avoid damaging air
supply unit.
Tightening torque 37 12 3AZ
.
Release banjo bolts and disconnect plug connection.
Remove plug housing with distributor from mounting bracket.
RA Replacing air supply unit (ride-height control)
BMW AG - TIS
12.02.2013 09:21
Issue status (12/2007) Valid only until next DVD is issued
Copyright
Page - 1 -