
X Series E70 X5 4.8i (N62TU) OFFRD
33 32 091
Replacing a guide arm
Note:
If the guide arm is detached from the rear axle carrier, it is
necessary after reinstallation to carry out a wheel/chassis
alignment check.
Necessary preliminary tasks:
•
Remove rear wheel.
•
Deactivate and empty air spring system
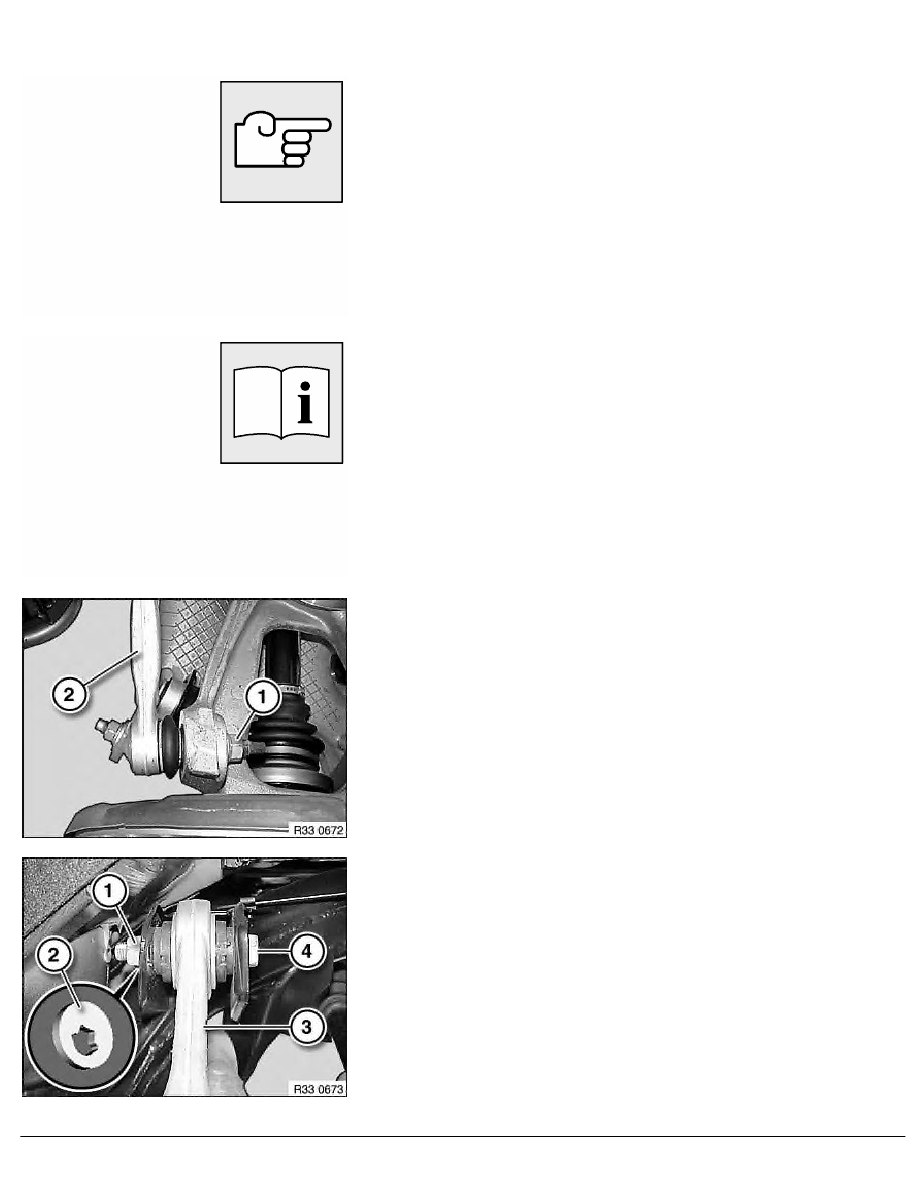
Unscrew nut (1).
Remove guide arm (2) from wheel carrier.
Installation:
Keep guide arm to wheel carrier connection clean and free from
oil and grease.
Replace self-locking nut.
Tightening torque 33 32 6AZ
.
Mark position of eccentric screw (4) to rear axle carrier.
Release nut (1) and remove eccentric washer (2).
Pull out eccentric screw (4) and remove guide arm (3).
Installation:
Refit eccentric washer.
Replace self-locking nut.
Align eccentric screw by means of marking to rear axle carrier.
Tighten bolt connection in normal position.
Tightening torque 33 32 5AZ
.
RA Replacing a guide arm
BMW AG - TIS
08.02.2013 04:31
Issue status (12/2007) Valid only until next DVD is issued
Copyright
Page - 1 -