
X Series E70 X5 4.8i (N62TU) OFFRD
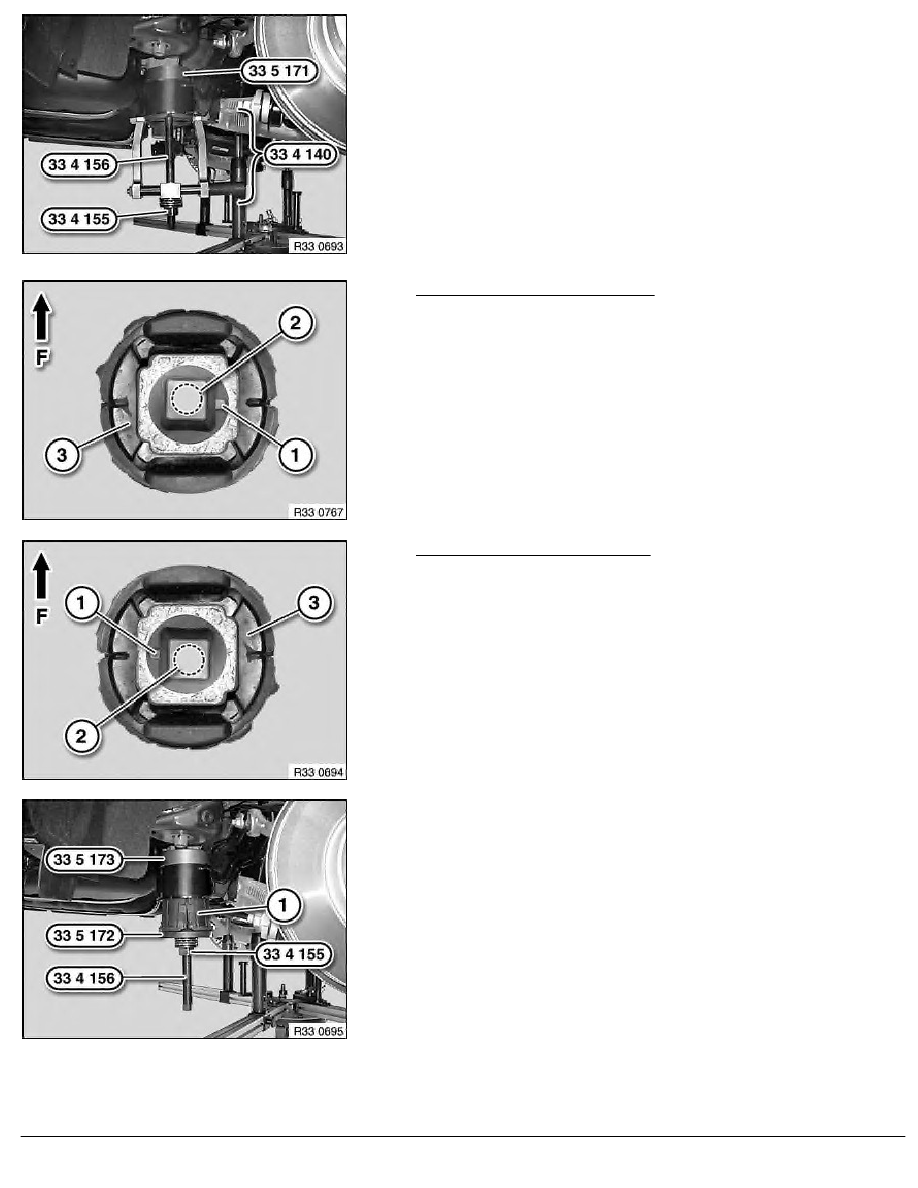
Withdraw rubber mount using special tools 33 4 140 ,
33 4 155 , 33 4 156 and 33 5 171 from rear axle carrier
sleeve.
Note:
Make sure special tool 33 5 171 is correctly positioned in
relation to rubber mount.
Make sure special tool 33 4 140 is correctly supported on rear
axle carrier sleeve.
Using a hot air blower, heat bearing bushing at max. 600
°
C outlet
temperature for approx. 2 minutes.
Applicable to front rubber mount:
Important!
Notch (1) must point to right and round rubber mount
opening (2) must point downwards.
Coat rubber mount (3) with Circo Light.
Applicable to rear rubber mount:
Important!
Notch (1) must point to left and round rubber mount
opening (2) must point downwards.
Coat rubber mount (3) with Circo Light.
Draw in rubber mount (1) with special tools
33 5 173 ,
33 5 172 , 33 4 155 and 33 4 156 as far as it will go into rear
axle carrier sleeve.
RA Replacing all rubber mounts for rear axle carrier
BMW AG - TIS
08.02.2013 04:36
Issue status (12/2007) Valid only until next DVD is issued
Copyright
Page - 2 -