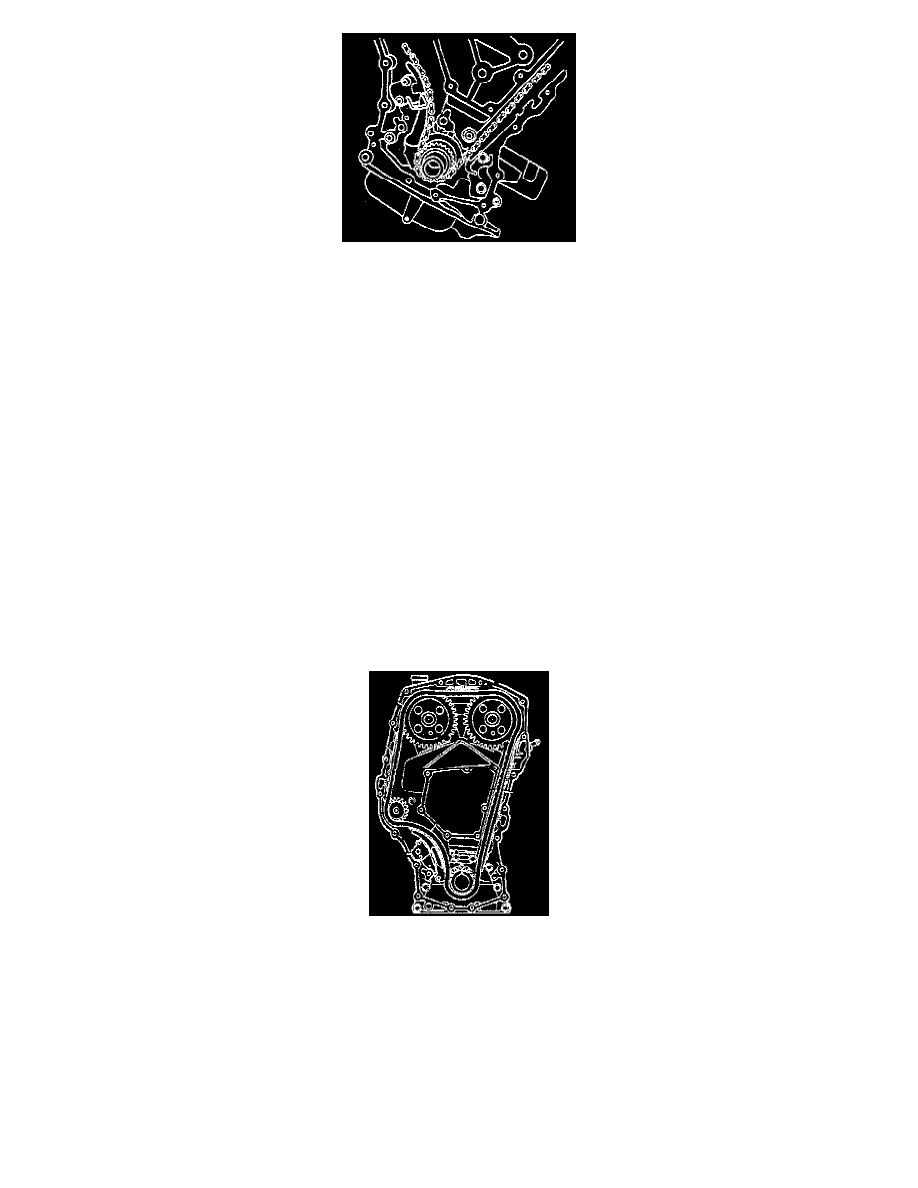
Skylark L4-144 2.4L DOHC VIN T SFI (1997)

21. Install the timing chain guides.
22. Install the engine front cover.
23. Connect the negative battery cable.
Removal
Removal
NOTE: GM does not provide timing marks, or information to perform timing chain service without the special tools shown in this procedure.
TOOLS REQUIRED:
^
J 36800 Camshaft Sprocket Timing Alignment Pin
^
J 39579 Camshaft Sprocket Wrench
NOTE: Before removing the timing chain, read the entire procedure. The timing chain and the crankshaft sprocket must be marked in order to insure
reassembly with the same side facing out at the time of reassembly.
CAUTION: The timing chain is not to be replaced with the timing chain from any other model year. The timing sprockets are different on the Twin
Cam engine and the shape of the links matches the sprockets. Engine damage may result if the wrong timing chain is used.
1. Disconnect the negative battery cable.
2. Remove the engine front cover.
3. Rotate the crankshaft clockwise (as viewed from the front of the engine, normal rotation) until the camshaft sprocket timing dowel pin holes line
up with the holes in the timing chain housing.
4. The crankshaft sprocket keyway should point upwards and line up with the centerline of the cylinder bores. This is the "Timed" position.
5. Remove the timing chain guides.
6. Raise and support the vehicle.
7. Ensure that all of the slack in the timing chain is above the tensioner assembly.
8. Remove the timing chain tensioner.
9. The timing chain must be disengaged from any wear grooves in the tensioner shoe in order to remove the shoe. Slide a screwdriver blade under the
timing chain while pulling the shoe outward.
CAUTION: Do not attempt to pry the sprocket off the camshaft or damage to the sprocket or chain housing could occur.
