
Skylark V6-3100 3.1L VIN M SFI (1996)
Using a large flat-bladed screwdriver, tighten the two mandrel screws to the crankshaft. Ensure that the mandrel is snug to the crankshaft hub. Refer to
the above illustration.
Different types (styles) of rear main seals were used in production in different model years, engines and manufacturing facilities. As a result, the NEW
style rear main seal that you will be installing may have a different appearance or shape than the one removed. Regardless of what type of seal was
removed and what side was facing outside the engine, the new seal must be installed as described. Upon close inspection of the outer lip on the new seal,
the words this side out" will be seen. This side of the seal must be facing OUTSIDE the engine when correctly installed. While this may seem backwards,
it is correct. In addition, the protective nylon (plastic) sleeve that the seal is mounted on in the package was designed so that the seal can only be installed
in the proper direction when using the installation tool described in the following steps.
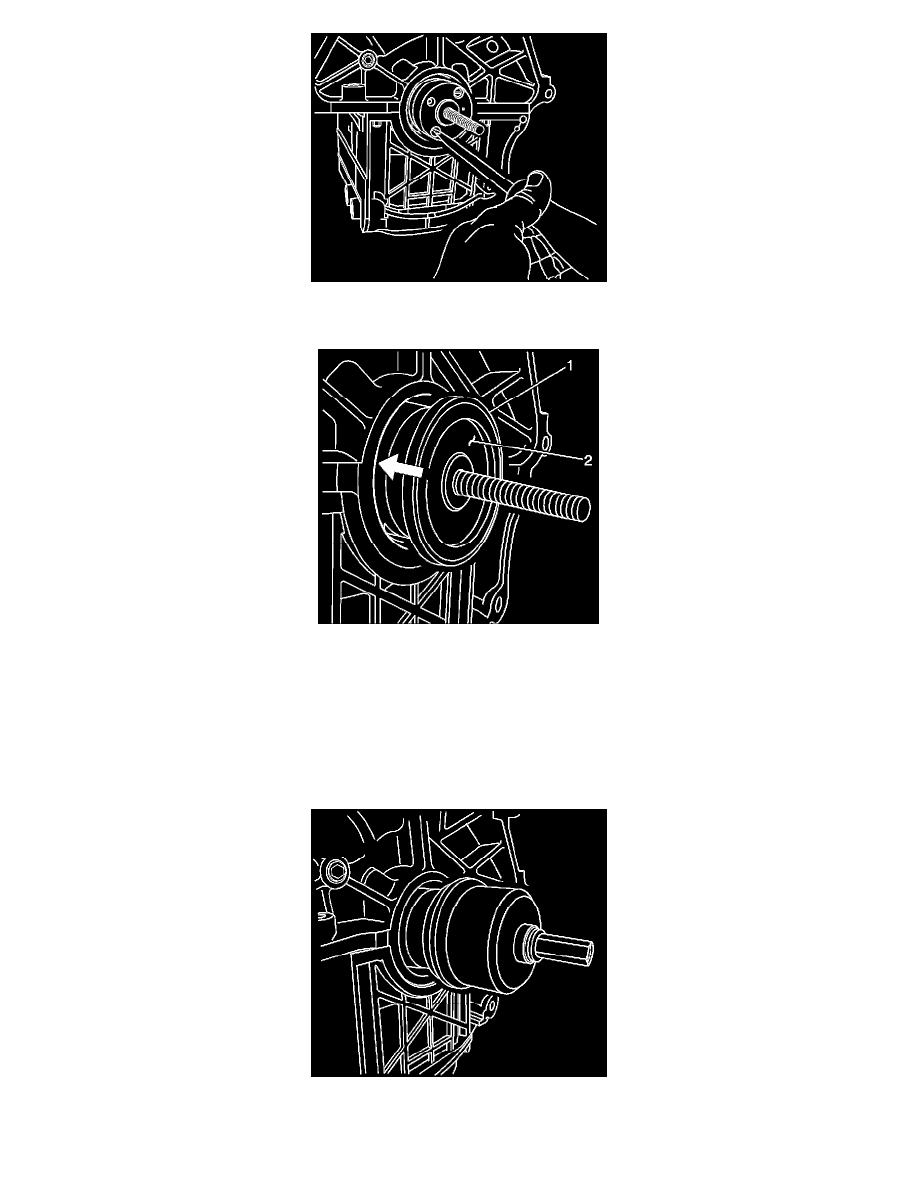
Install the rear main seal (1), with the protective nylon sleeve attached (2), onto the mandrel. The seal, if properly installed, will center on a step that
protrudes from the center of the mandrel. As an error proof, seal will fit only one way onto the mandrel. Refer to the above illustration.
Before installing the outer drive drum, bearing, washer and the drive nut onto the threaded shaft, apply a small amount of the Extreme Pressure Lubricant
J 23444-A, provided in the tool kit.